 SkillBamboo

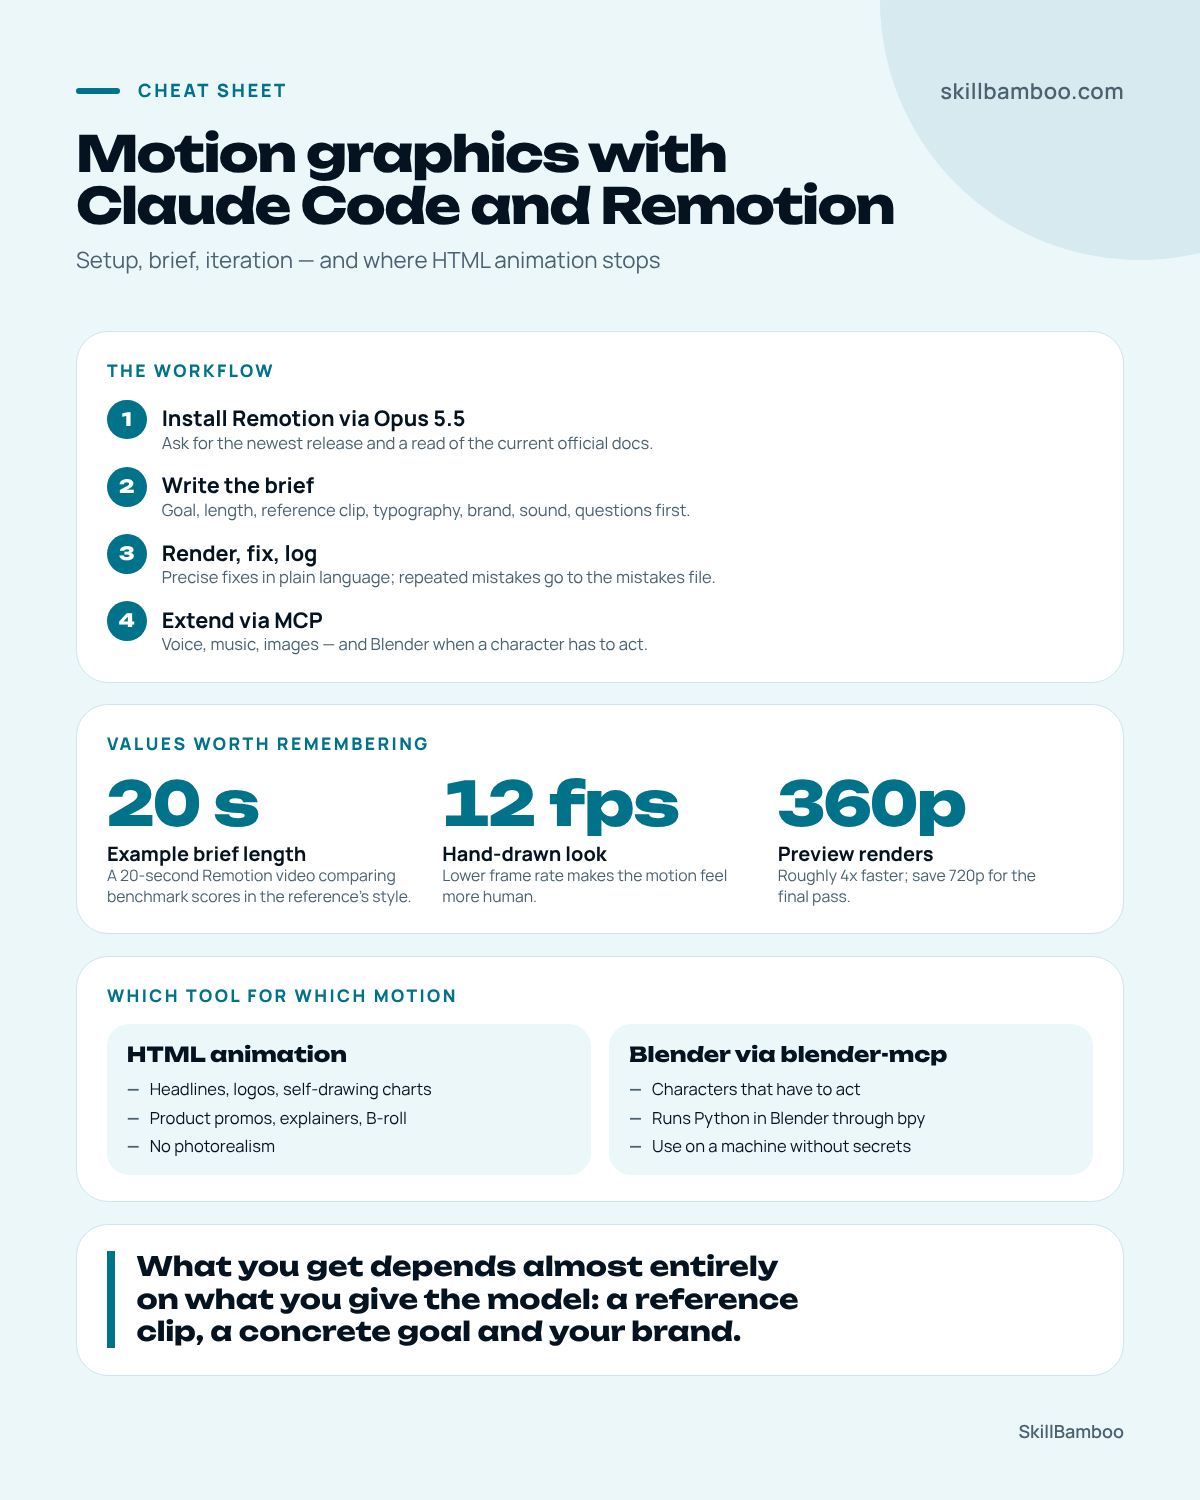
You need a product promo or a few seconds of animated B-roll (the cutaway footage that plays over a voice track). You don't know After Effects, and a motion designer's quote comes in at hundreds of dollars. But Claude Code and Remotion can build the motion graphics for you. Meanwhile Claude Opus 5.5 produced a promotional animation for a software product in about 15 minutes. So here's how to do it yourself: install Remotion through Claude Code, write a brief around a reference clip and your brand, add sound and iterate. You also need to know where HTML animation stops, because some projects call for Blender instead.
Why Claude can make motion graphics without After Effects
A language model does one thing: it writes text. Code is text too, and a video can be described in code frame by frame – what appears when, how it moves, which colors change, when it fades out. That's the whole trick.
Remotion and HyperFrames are frameworks built for exactly this. They let an AI model generate a video programmatically: the model writes the code, the framework renders it into frames and a finished file. You don't touch a timeline.
Remotion | Make videos programmatically – Official site: create videos and motion graphics with React
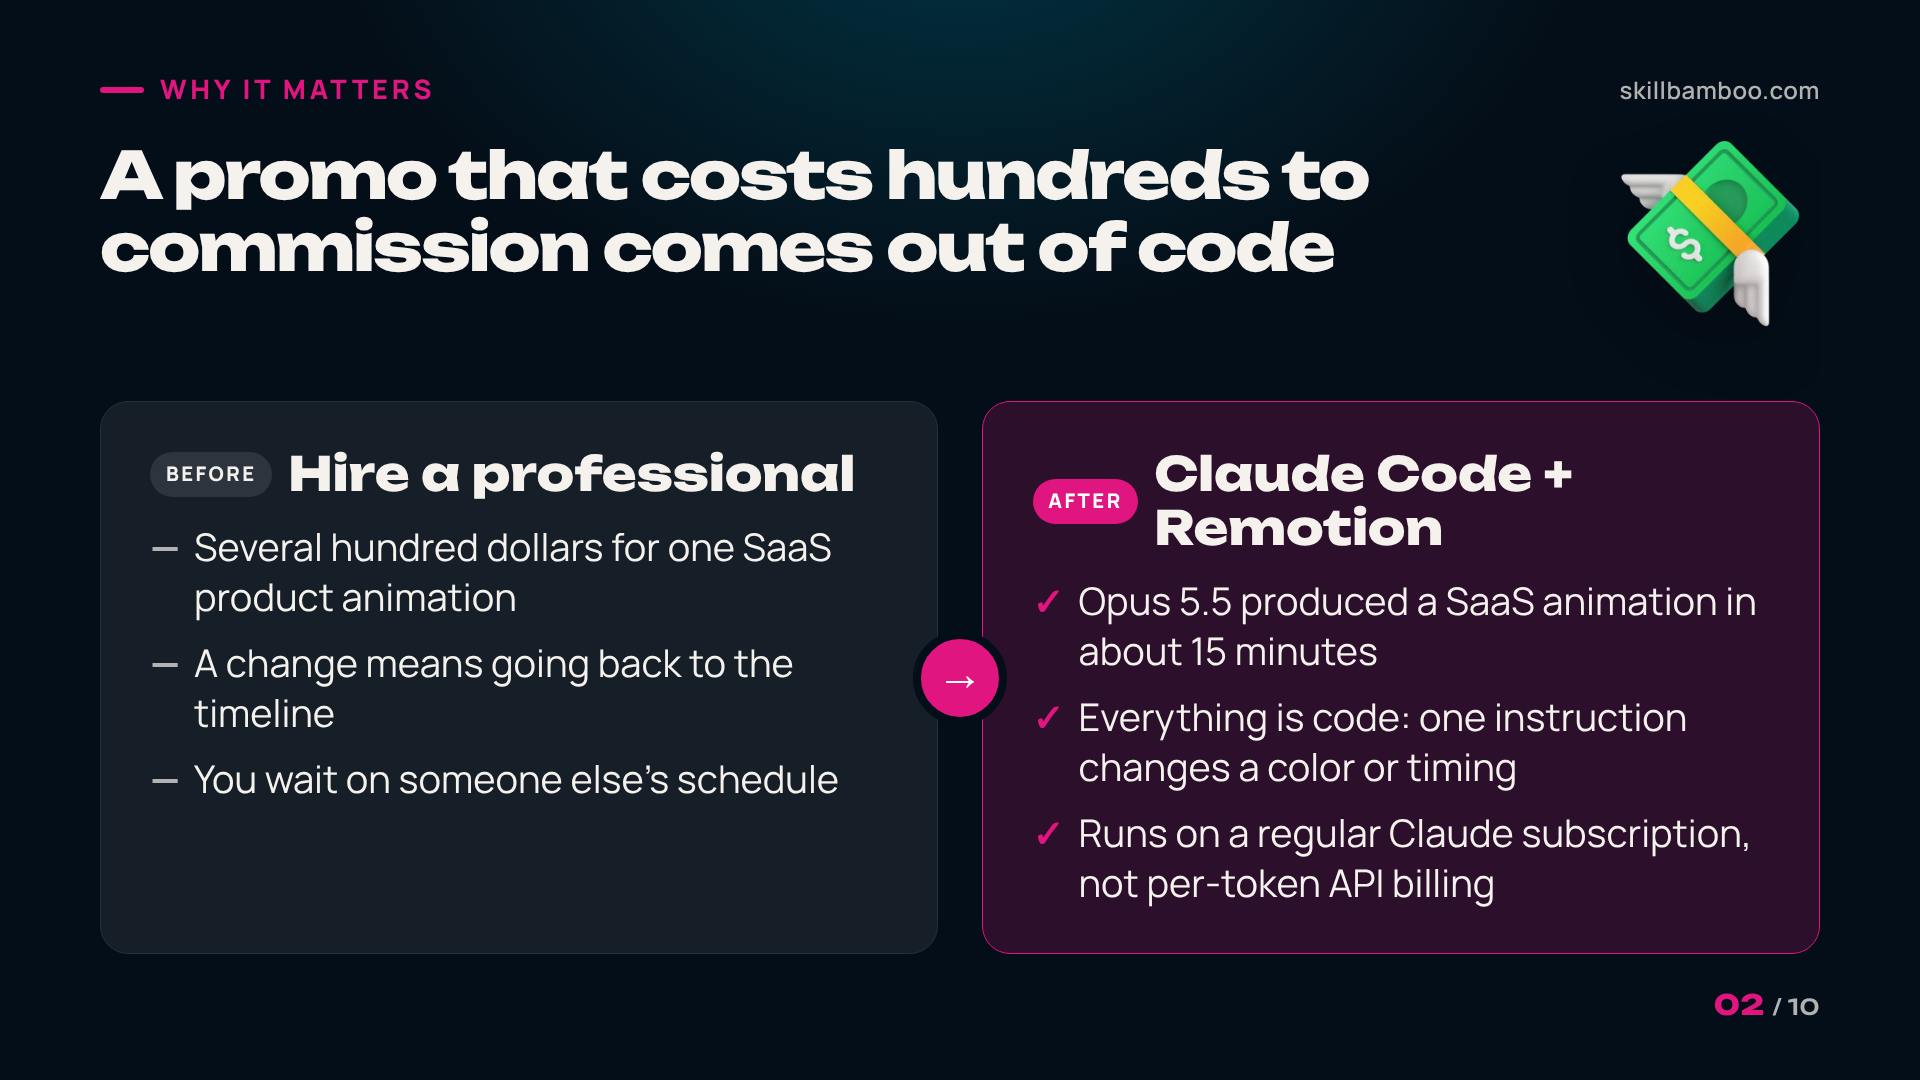
Is the quality good enough for a real product? A SaaS animation of the kind Opus 5.5 produced in that 15-minute example would usually run several hundred dollars if you hired a professional. But the output isn't magic. What you get depends almost entirely on what you give the model: a reference clip, a concrete goal and your brand. So your job is to supply all three.
The examples use Remotion. HyperFrames works on the same principle, so most of the advice carries over.
Step 1: Install Remotion through Claude Code
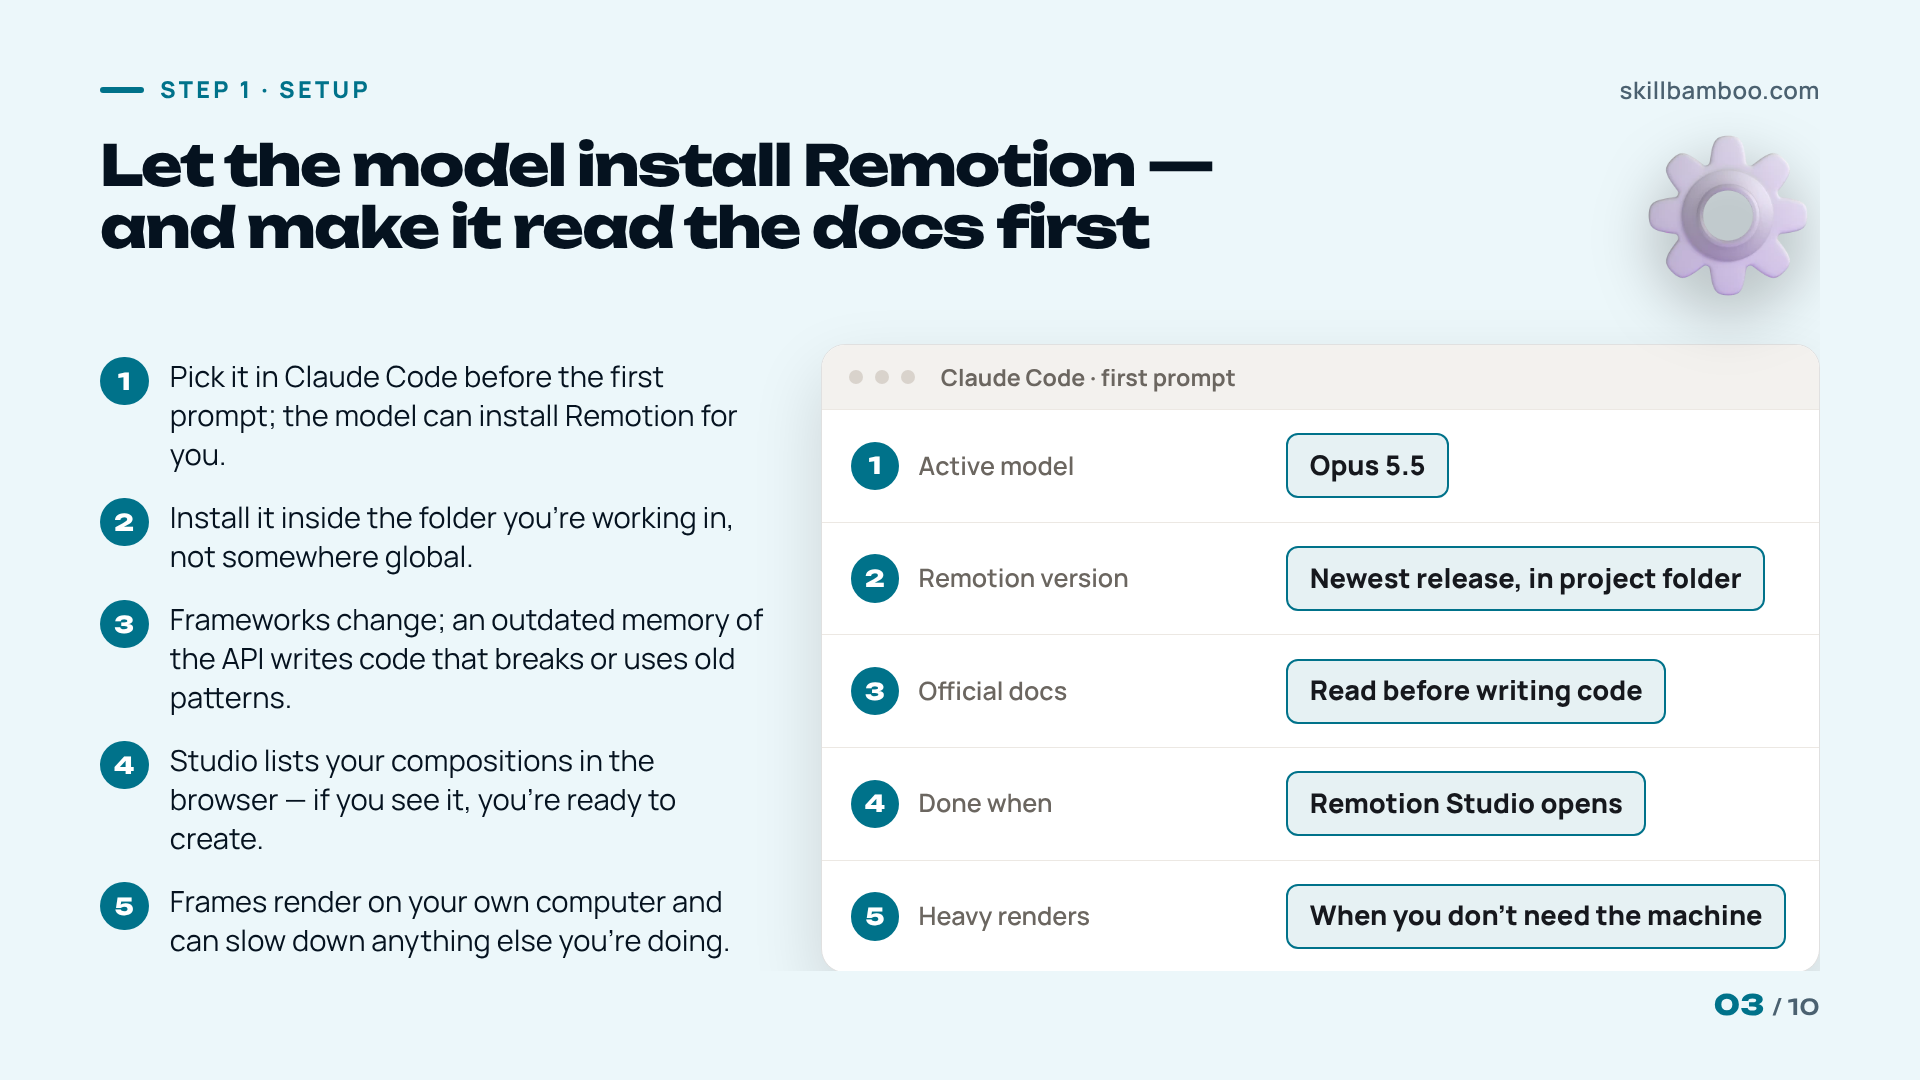
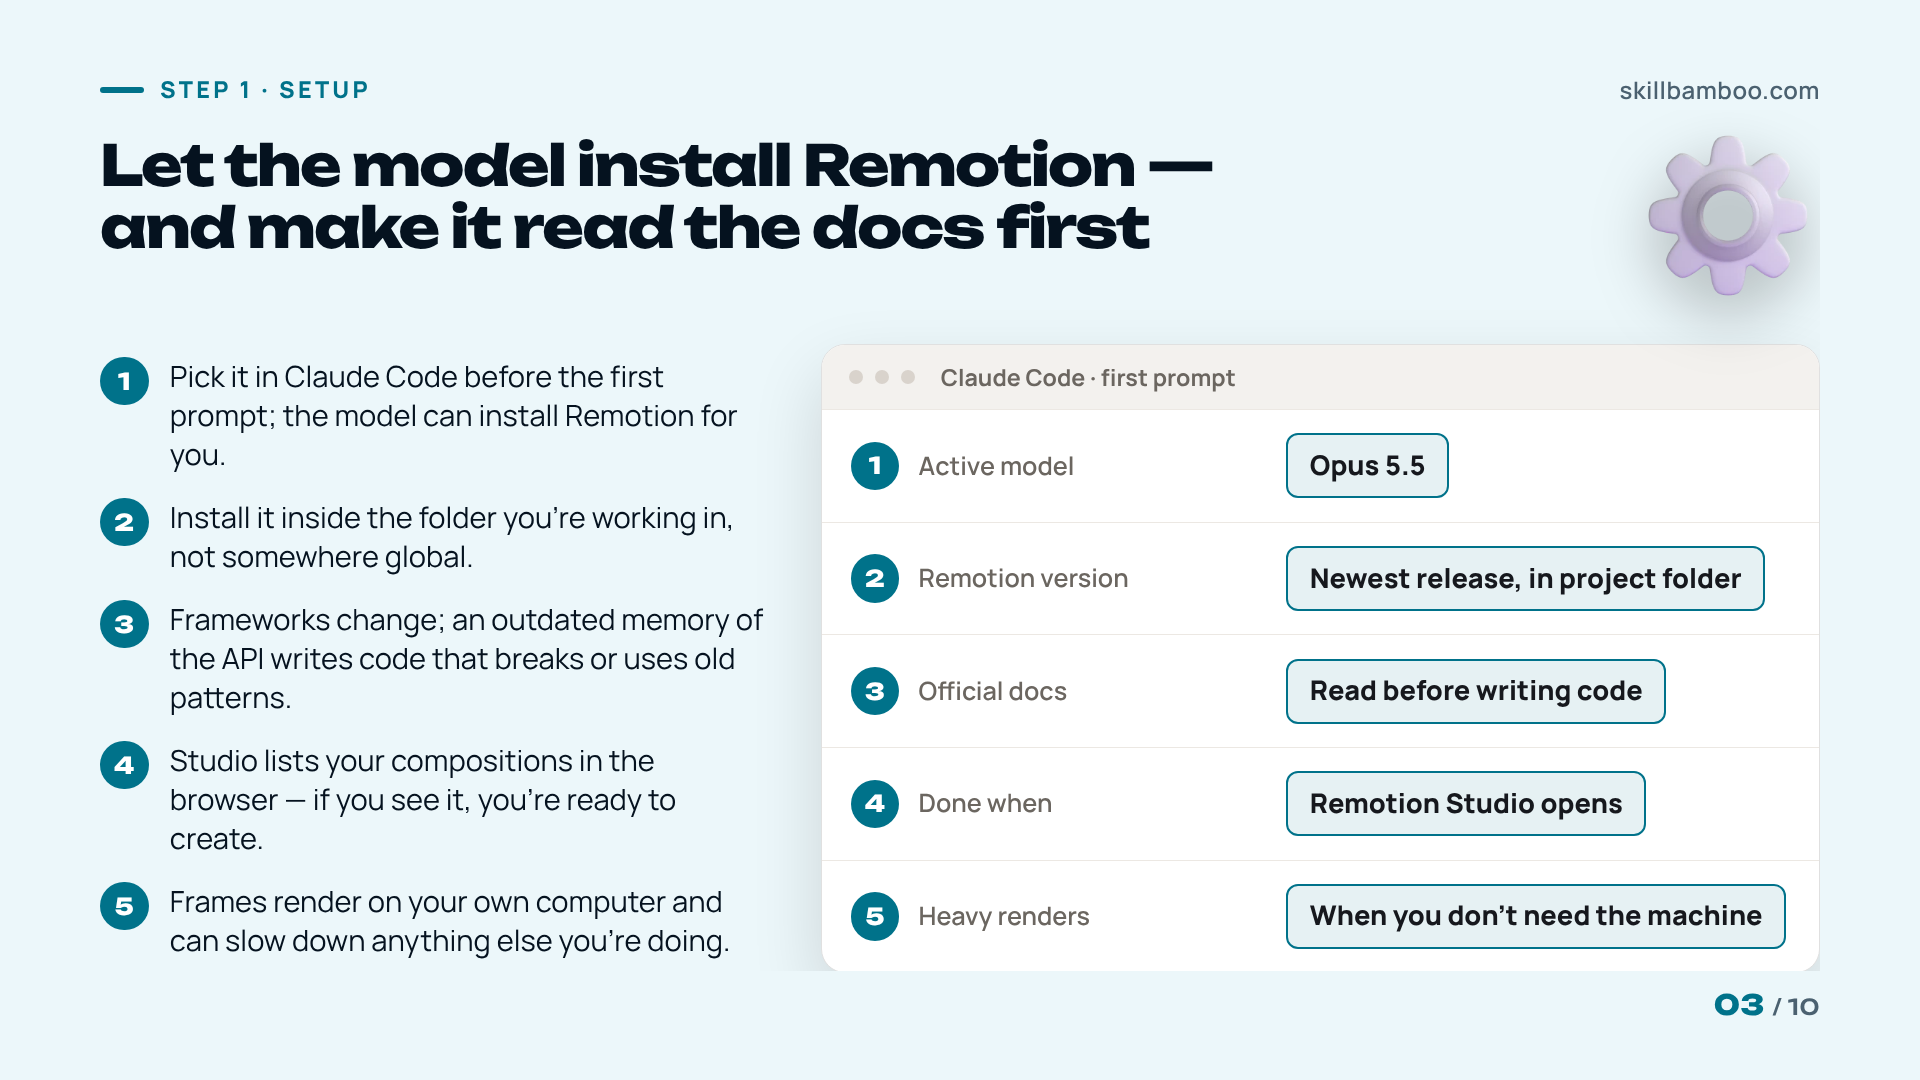
You don't need to set anything up by hand. Open Claude Code and choose Opus 5.5 as the active model. The model can install Remotion for you.
In your first prompt, ask for two things:
- Set up the newest Remotion release inside the project folder you're working in.
- Read the current official Remotion docs before writing anything, so the code uses up-to-date syntax.
The second request matters more than it looks. Frameworks change, and a model that leans on an outdated memory of the API will write code that breaks or uses old patterns.
When the install is finished, Remotion Studio opens in your browser. It lists your compositions, which are basically the individual videos in your project. On a fresh project you'll see the default example plus your new files. If you can see Studio, the setup is done and you're ready to create.
One practical note: the frames are rendered on your own computer. A render can slow down whatever else you're doing, such as editing another video. So schedule heavy renders for when you don't need the machine.
Step 2: Write a brief with a reference clip and your brand
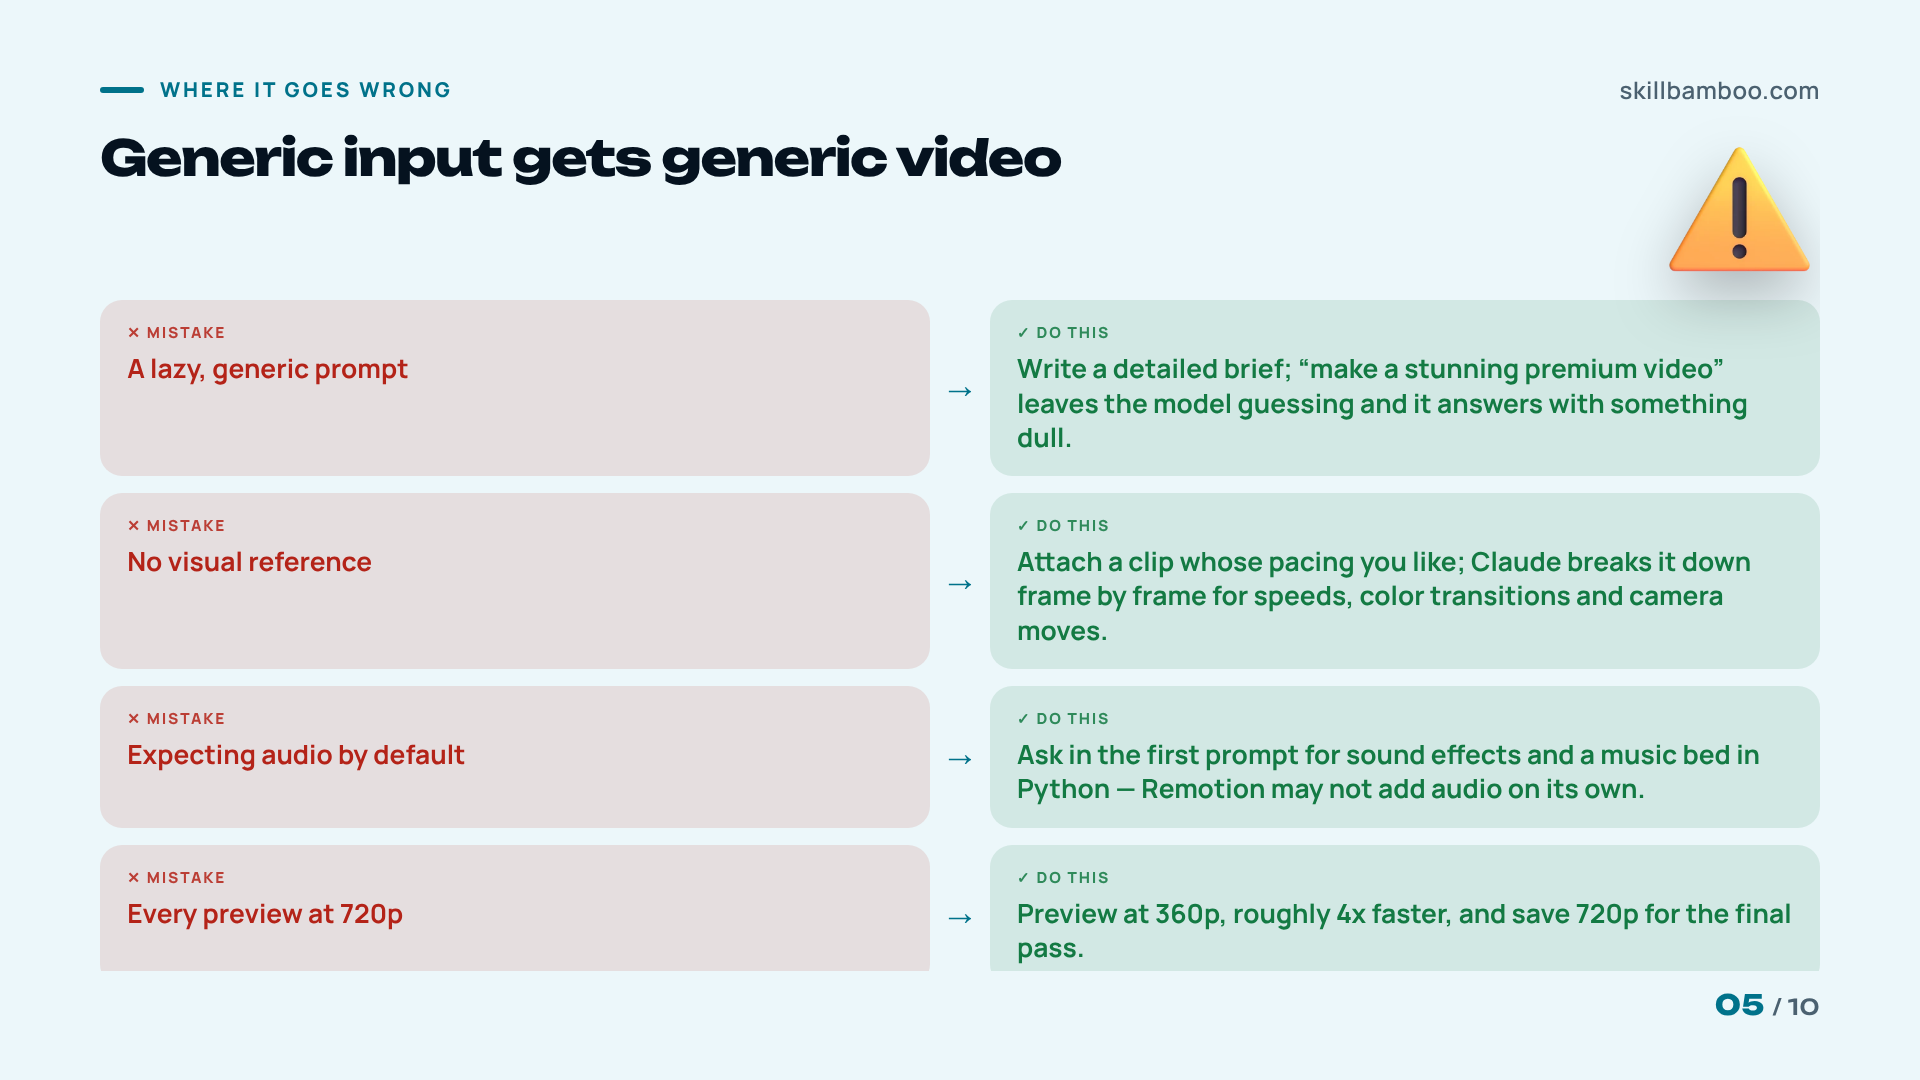
This is where most of the result is decided. A lazy, generic prompt like “make a stunning premium video” leaves the model guessing, and it answers with something dull. A detailed brief is what actually turns the output into something that looks designed.
The single most useful thing you can add is a reference video. Attach a clip whose pacing and timing you like. Without one, the model can struggle to invent a good composition from scratch. In other words, unless you can write precise layout instructions yourself, a reference is the safest path. Claude breaks a reference down frame by frame and picks up its motion speeds, color transitions and camera moves.
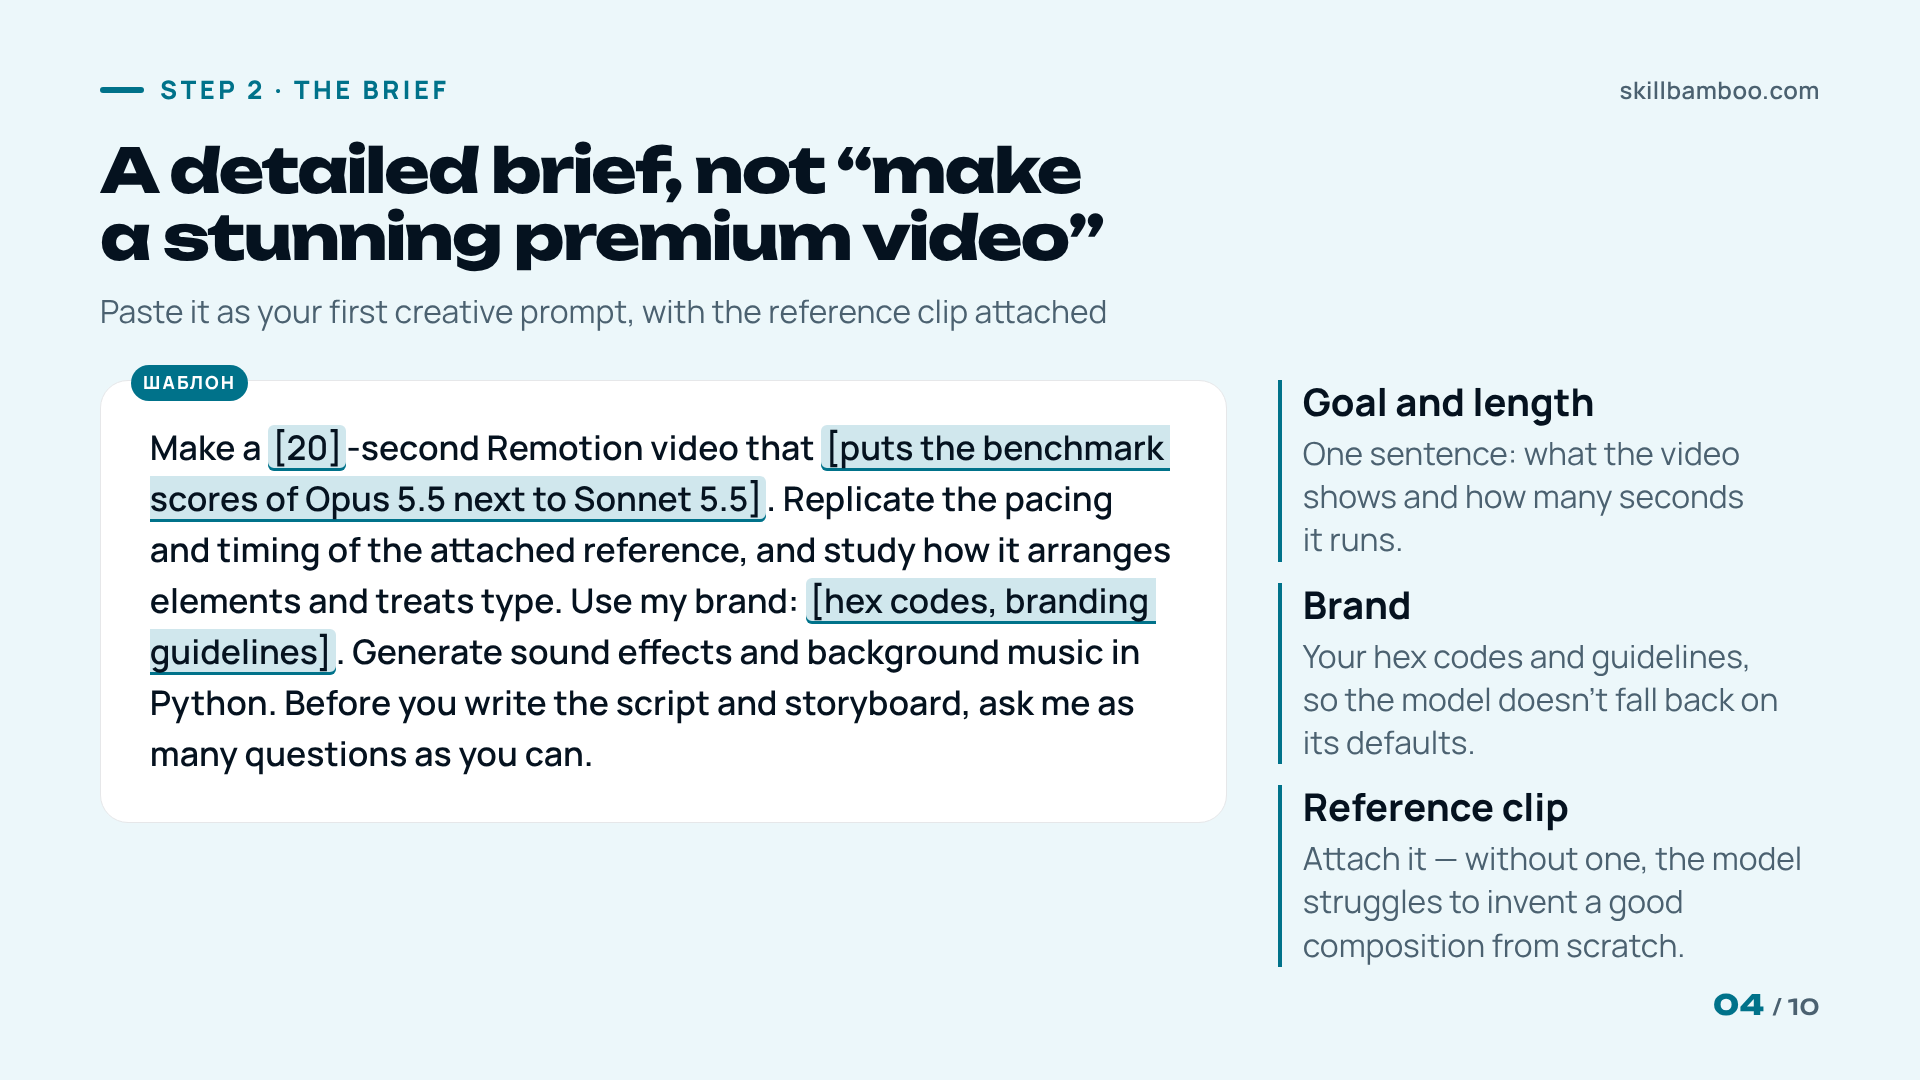
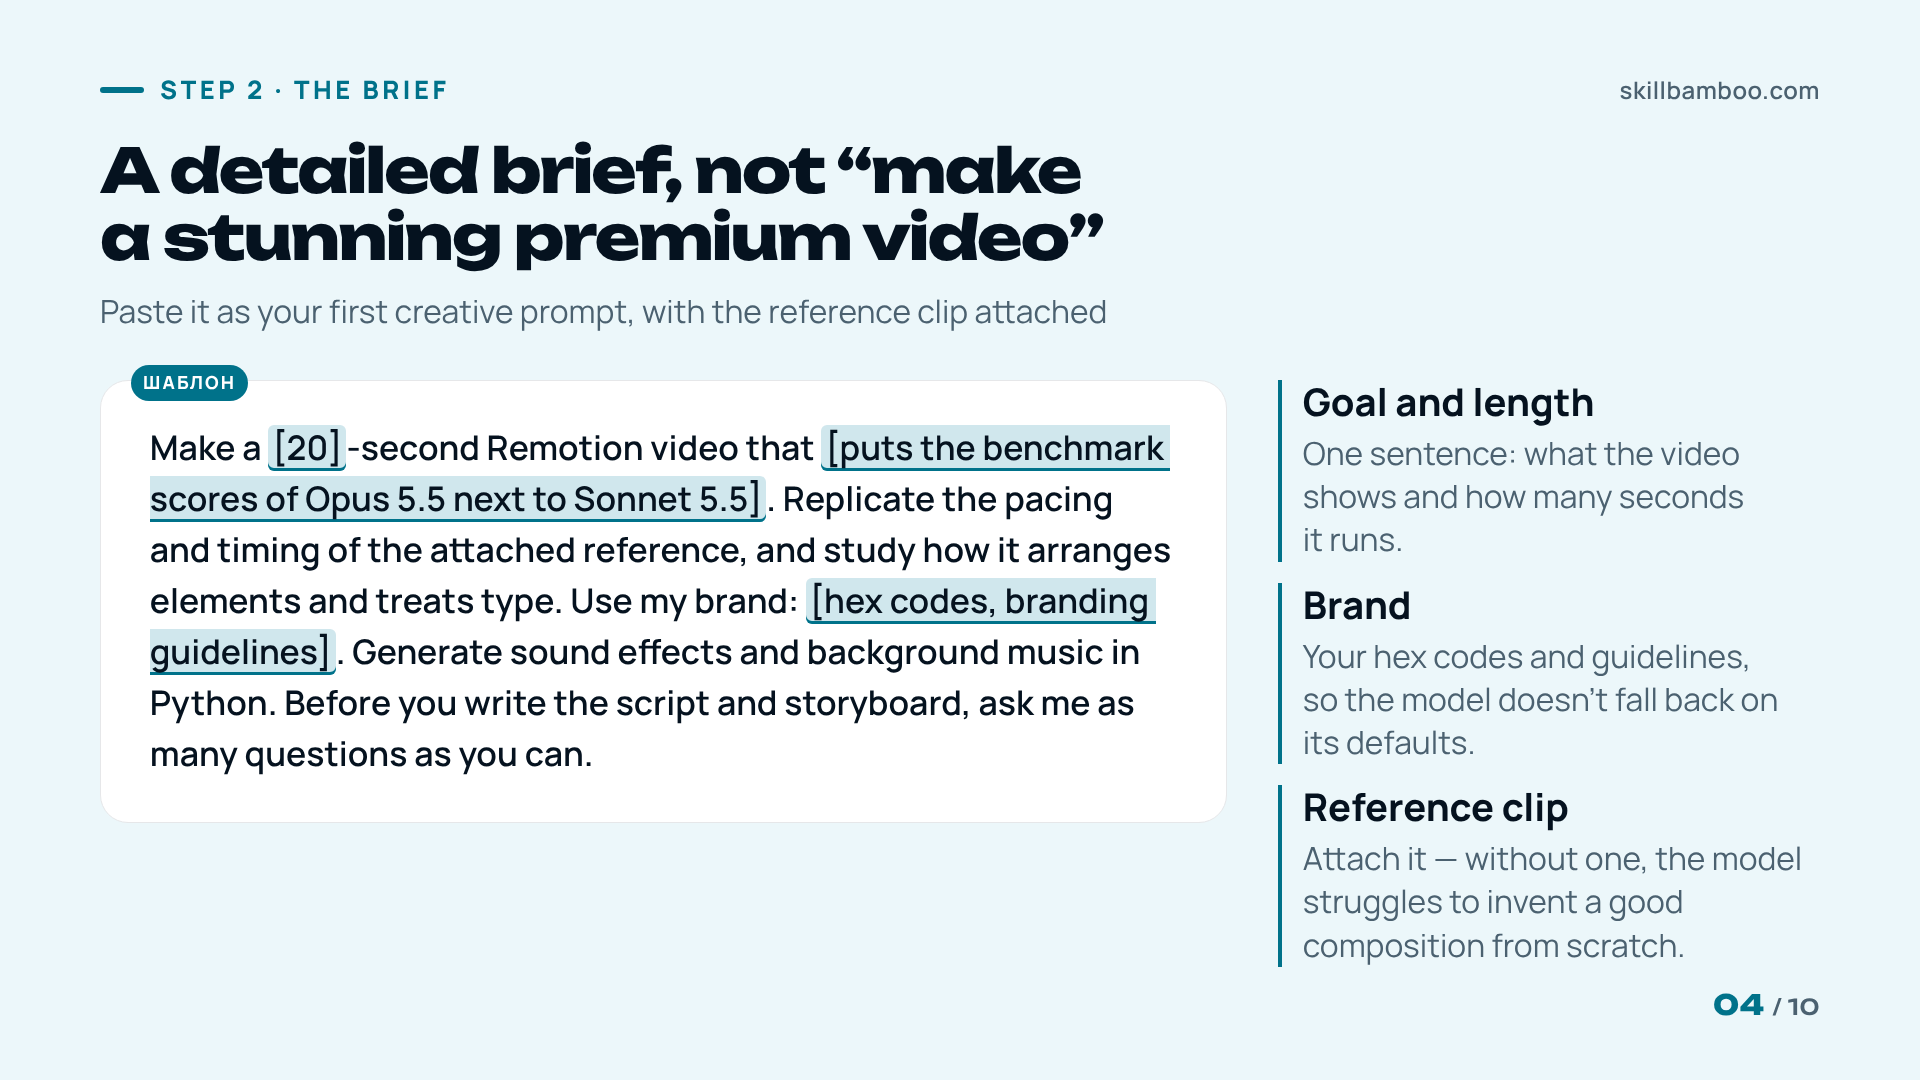
Here's what a working brief looks like. In one example, the goal was a 20-second Remotion video putting the benchmark scores of Opus 5.5 next to Sonnet 5.5, copying the style of the attached reference. Use that structure for your own projects:
- Goal and length. One sentence: what the video shows and how many seconds it runs.
- Reference clip. Attached, with a note to replicate its pacing and timing.
- Layout and typography. Ask the model to study how the reference arranges elements and treats type.
- Brand. Your hex codes and branding guidelines, not the model's defaults.
- Sound. An explicit request for sound effects and background music (more on this in Step 3).
- Questions first. Ask the agent to ask you as many questions as it can before it writes the script and storyboard.
The last item is easy to skip, and it pays off quickly. Questions up front catch misunderstandings before they turn into a render you have to throw away.
Going for a hand-drawn look
For a sketchy, pencil-style animation, lower the frame rate to 12 fps. Viewers notice each frame more, and the motion feels more human.
Step 3: Add sound and iterate on the Remotion code
Remotion with Claude Code won't necessarily add audio on its own. So put it in your first prompt: ask the model to create sound effects and a music bed (a background track) in Python. It will synthesize the tracks and lay them under the animation.
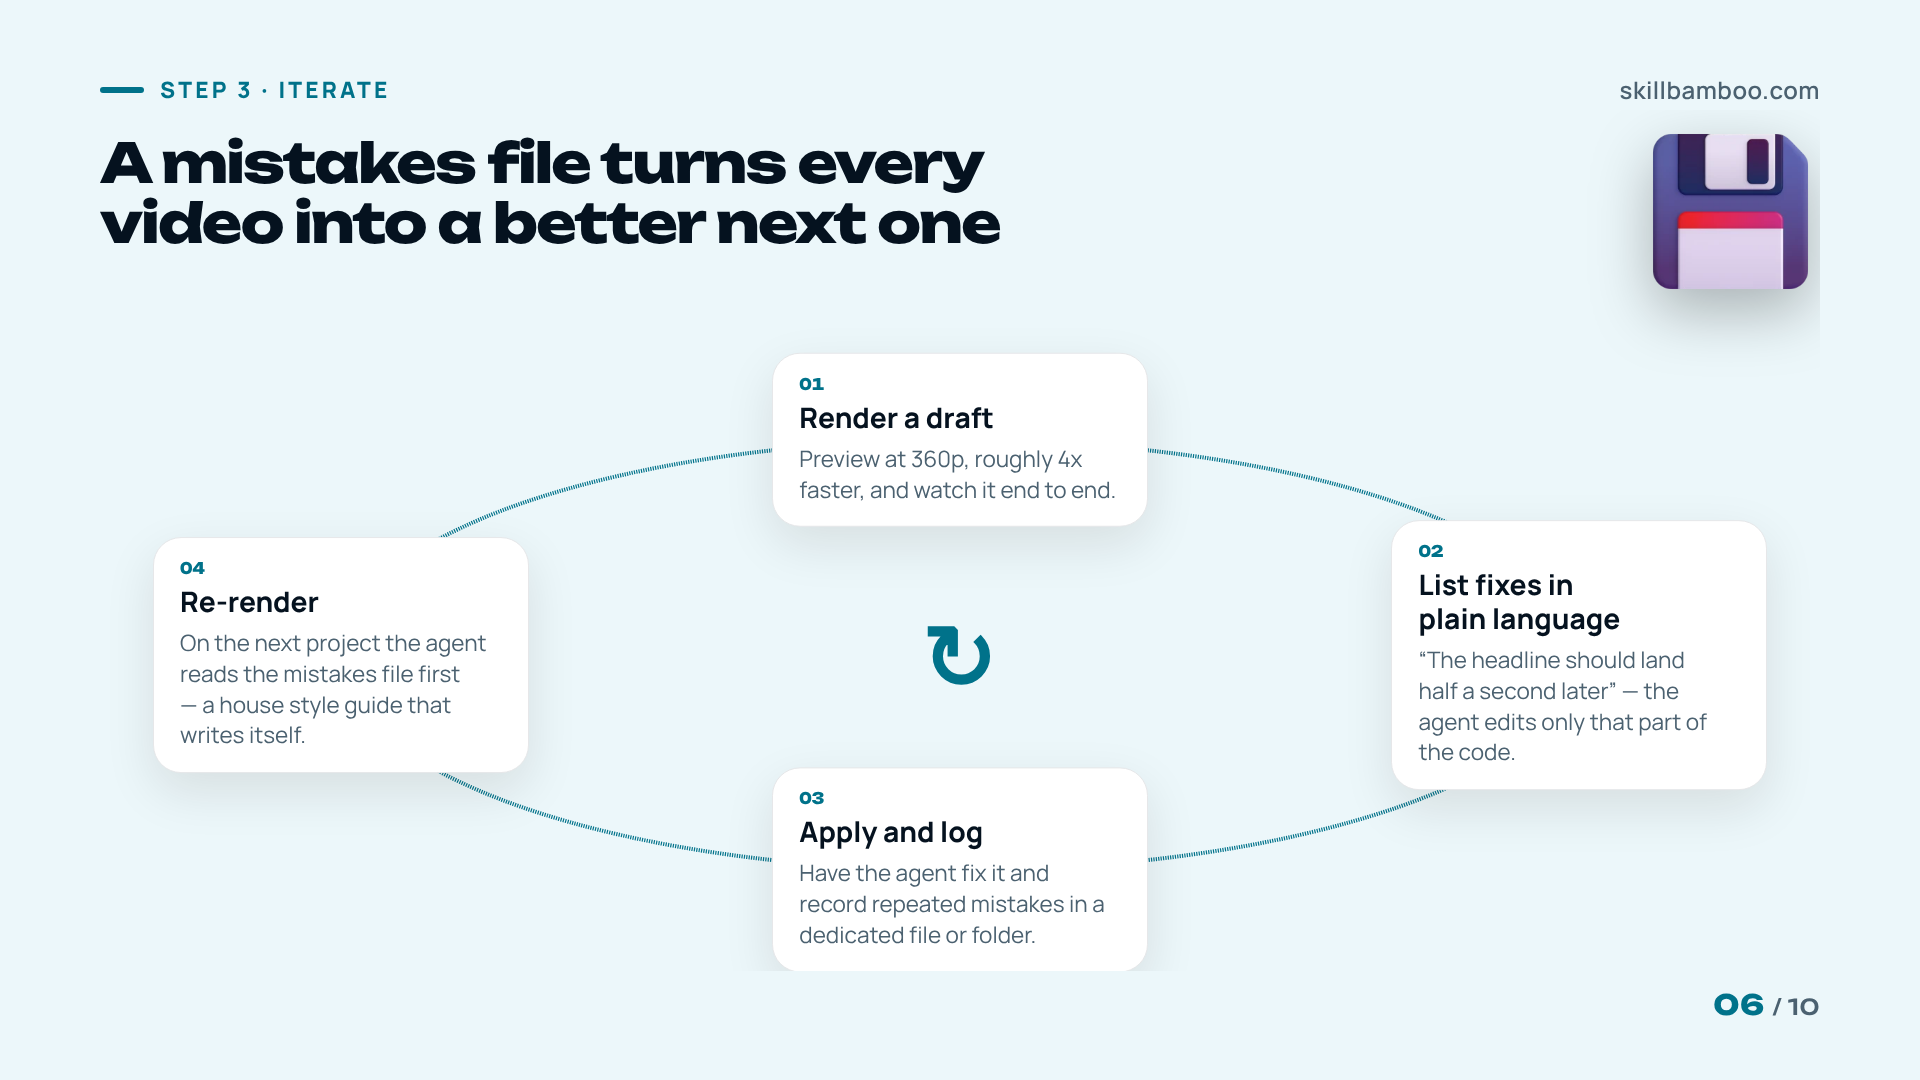
Then comes iteration, and this is where code beats a video generator. Image, motion, sound and camera are all code, so the agent can make precise edits to any part. If the headline should land half a second later or the accent color is off, you say so and only that part changes. You don't re-roll the whole clip and hope.
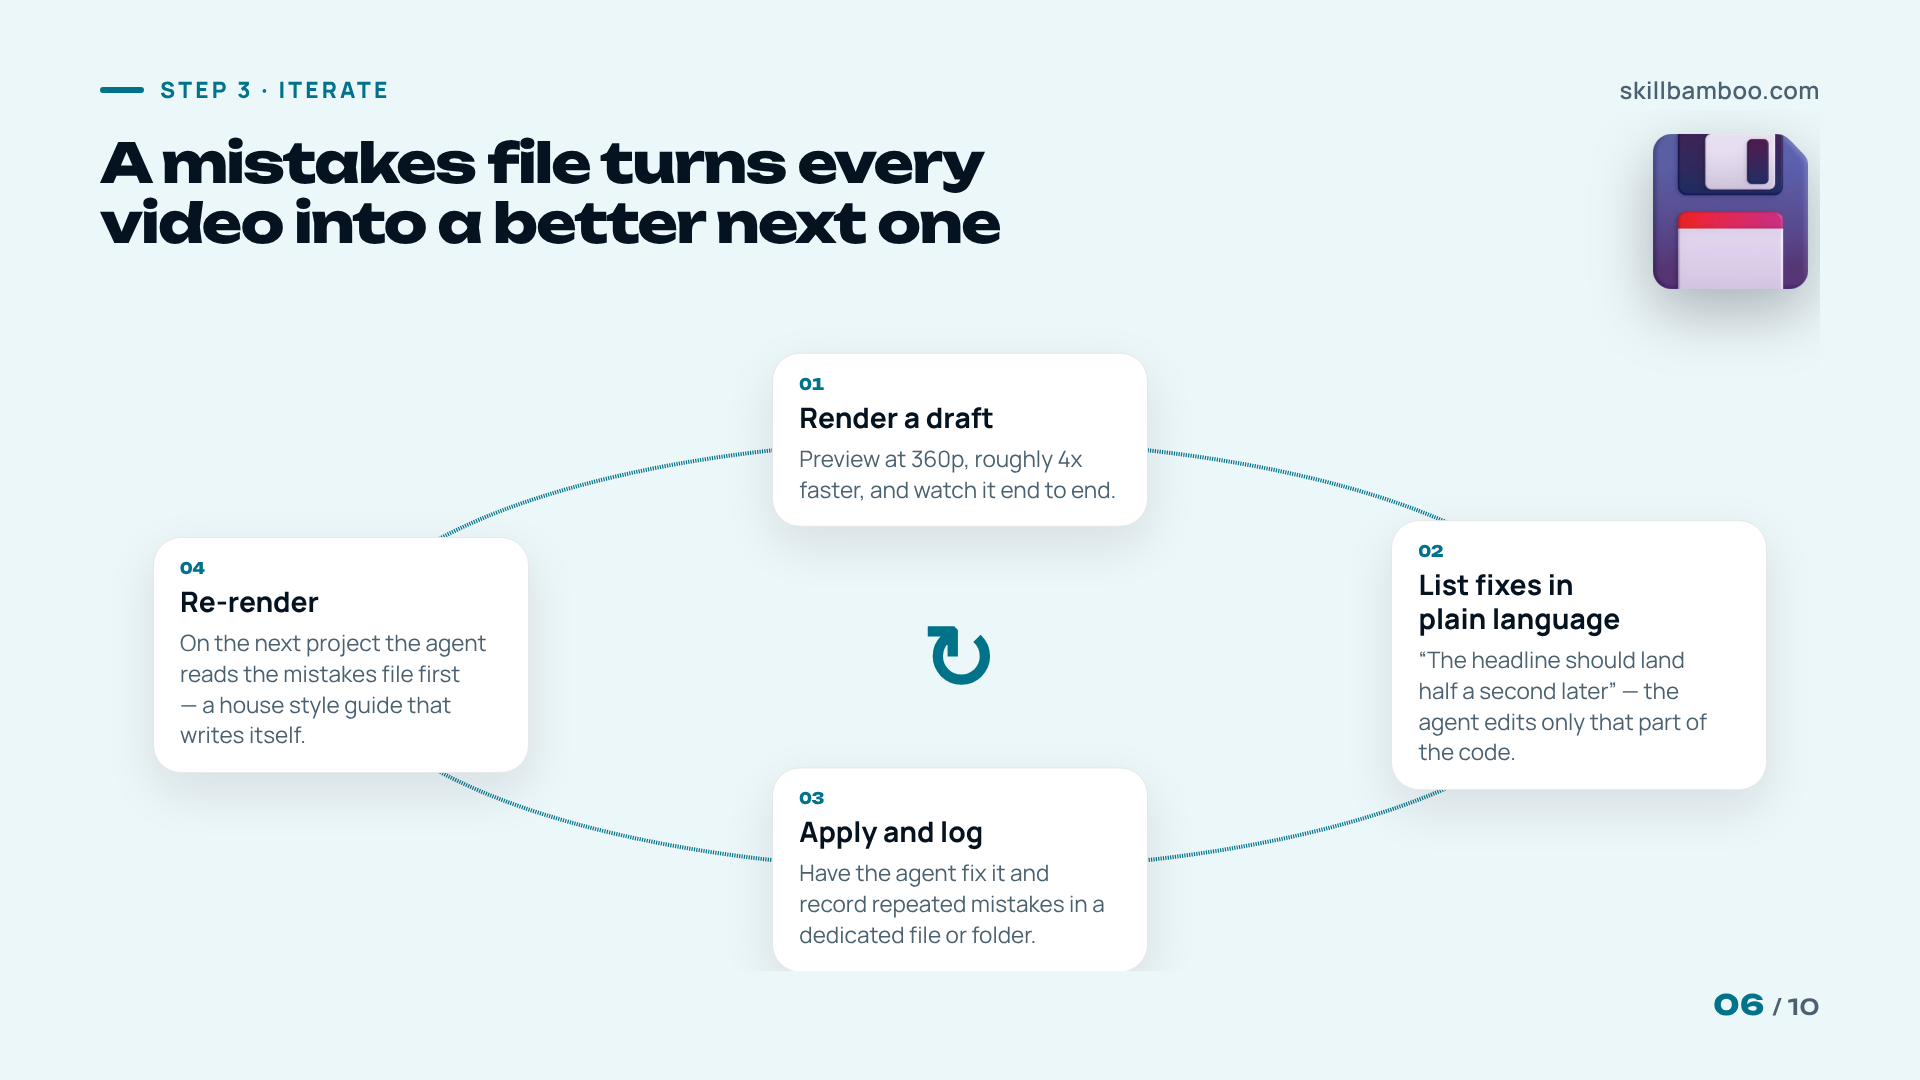
To make each project better than the last, keep a mistakes file. Every time the agent gets something wrong, tell it and have it record the mistake in a dedicated file or folder. On the next project it reads that file first. Think of the list as a house style guide that writes itself. It costs some context, but it grows with every video you make.
A short loop works well:
- Render a draft and watch it.
- List the fixes in plain language.
- Have the agent apply them and add any repeated mistakes to the file.
- Re-render.
Level up: let Claude orchestrate voice, music and images via MCP
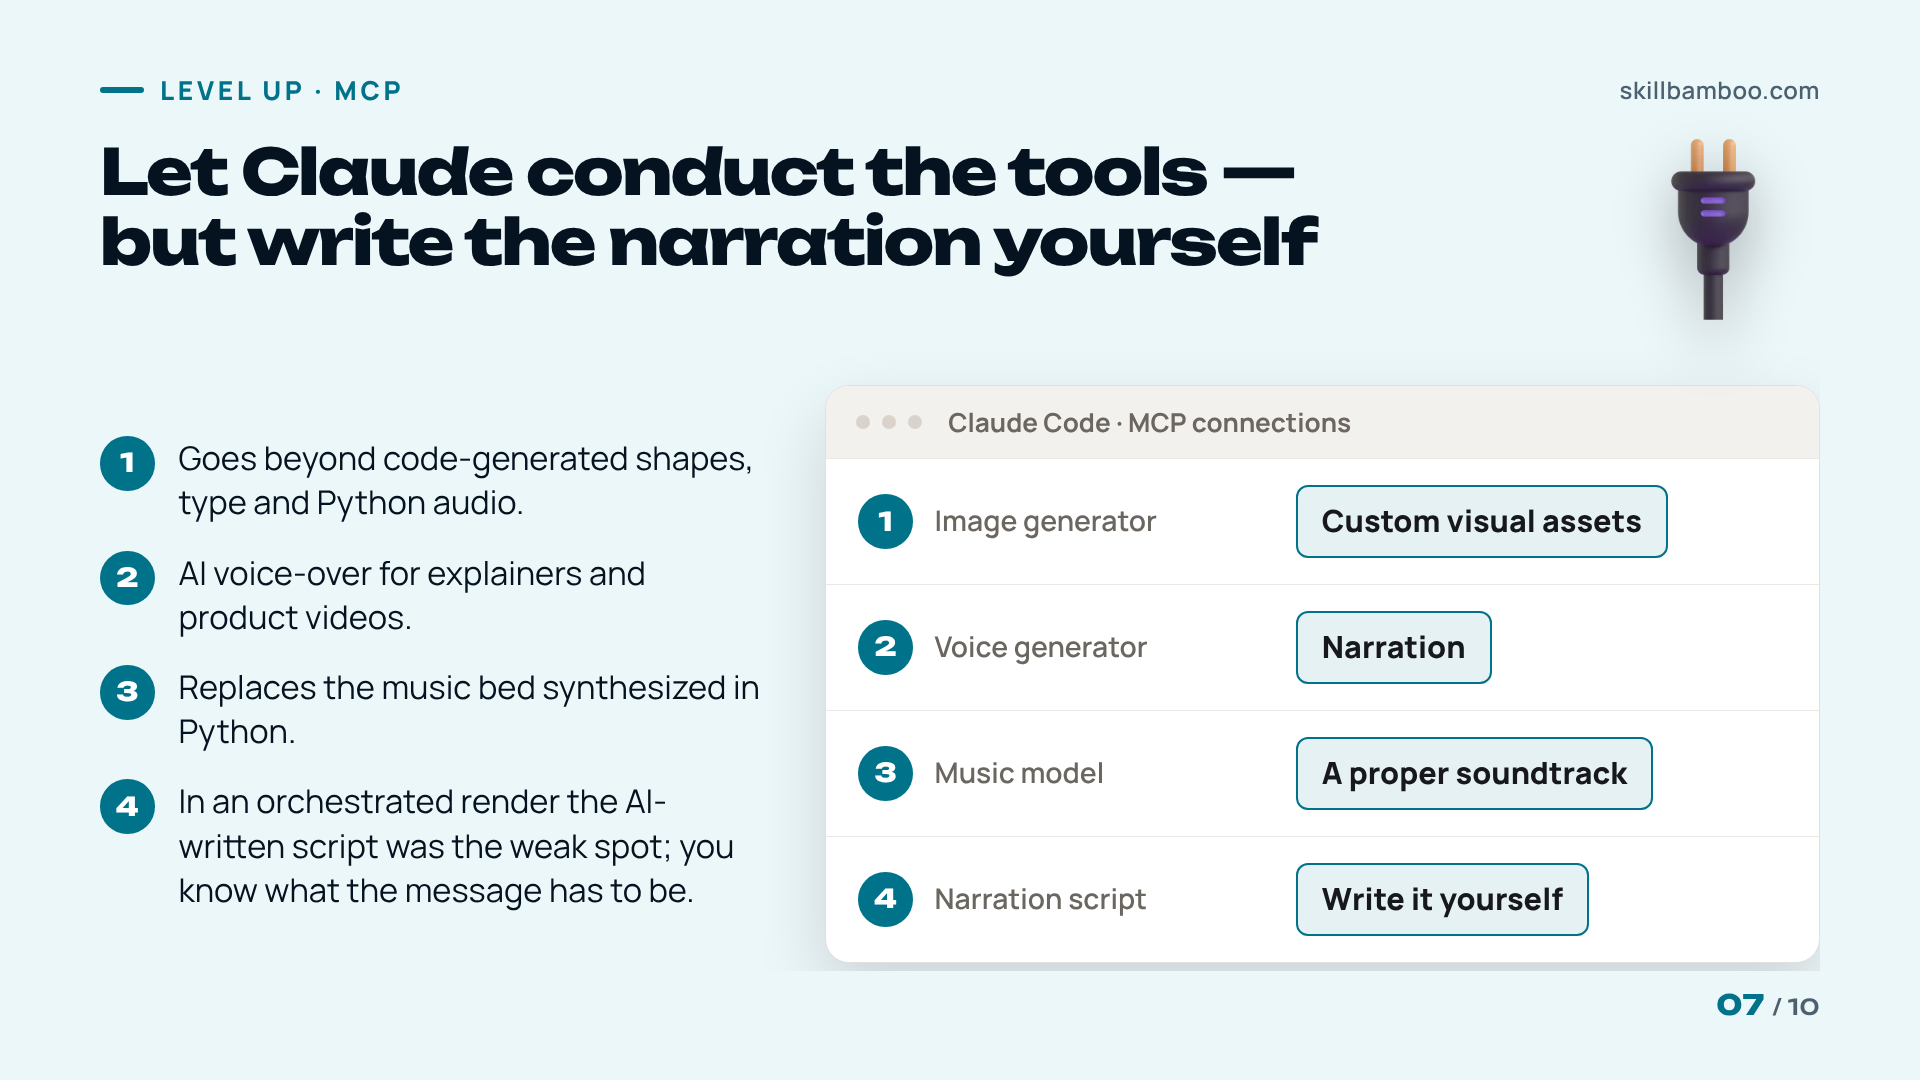
Basic Remotion output is code-generated shapes, type and Python audio. To go further, connect Claude to other tools and let it act as the conductor.
The connection layer is MCP, the Model Context Protocol – basically a standard bridge that lets the model use outside software. Through MCP, Claude can call an image generator for custom visual assets, a voice generator for narration, a music model for a proper soundtrack, or Blender for 3D.
What is the Model Context Protocol (MCP)? – Official definition of the Model Context Protocol
In an orchestrated render that used AI voice-over, generated assets and music together, the animation itself held up well. The weak spot was the narration script the model wrote for itself. The good news is that it's an easy fix. Ask the model to rework the script, or write it yourself and let Claude handle the visuals and timing around it – for product videos that's usually the better choice anyway, because you know what the message has to be.
Where HTML animation stops and Blender MCP starts
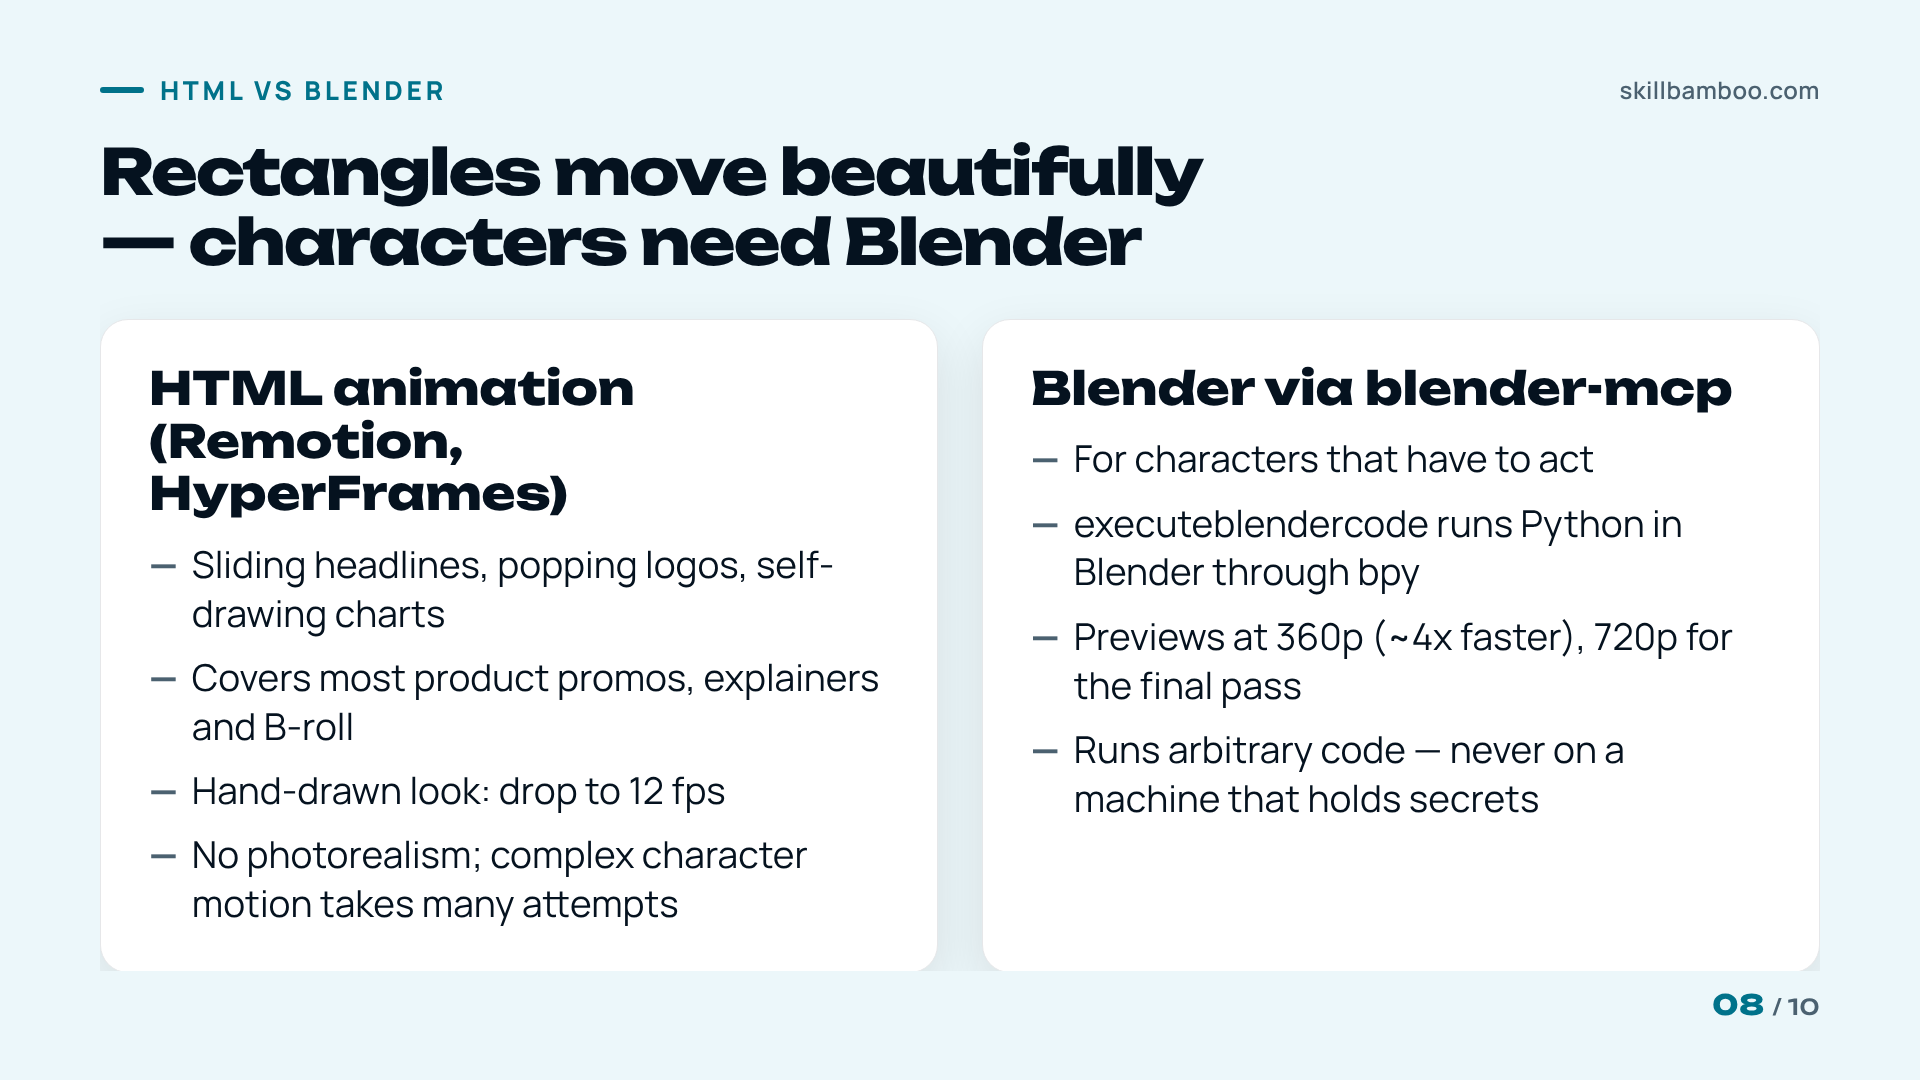
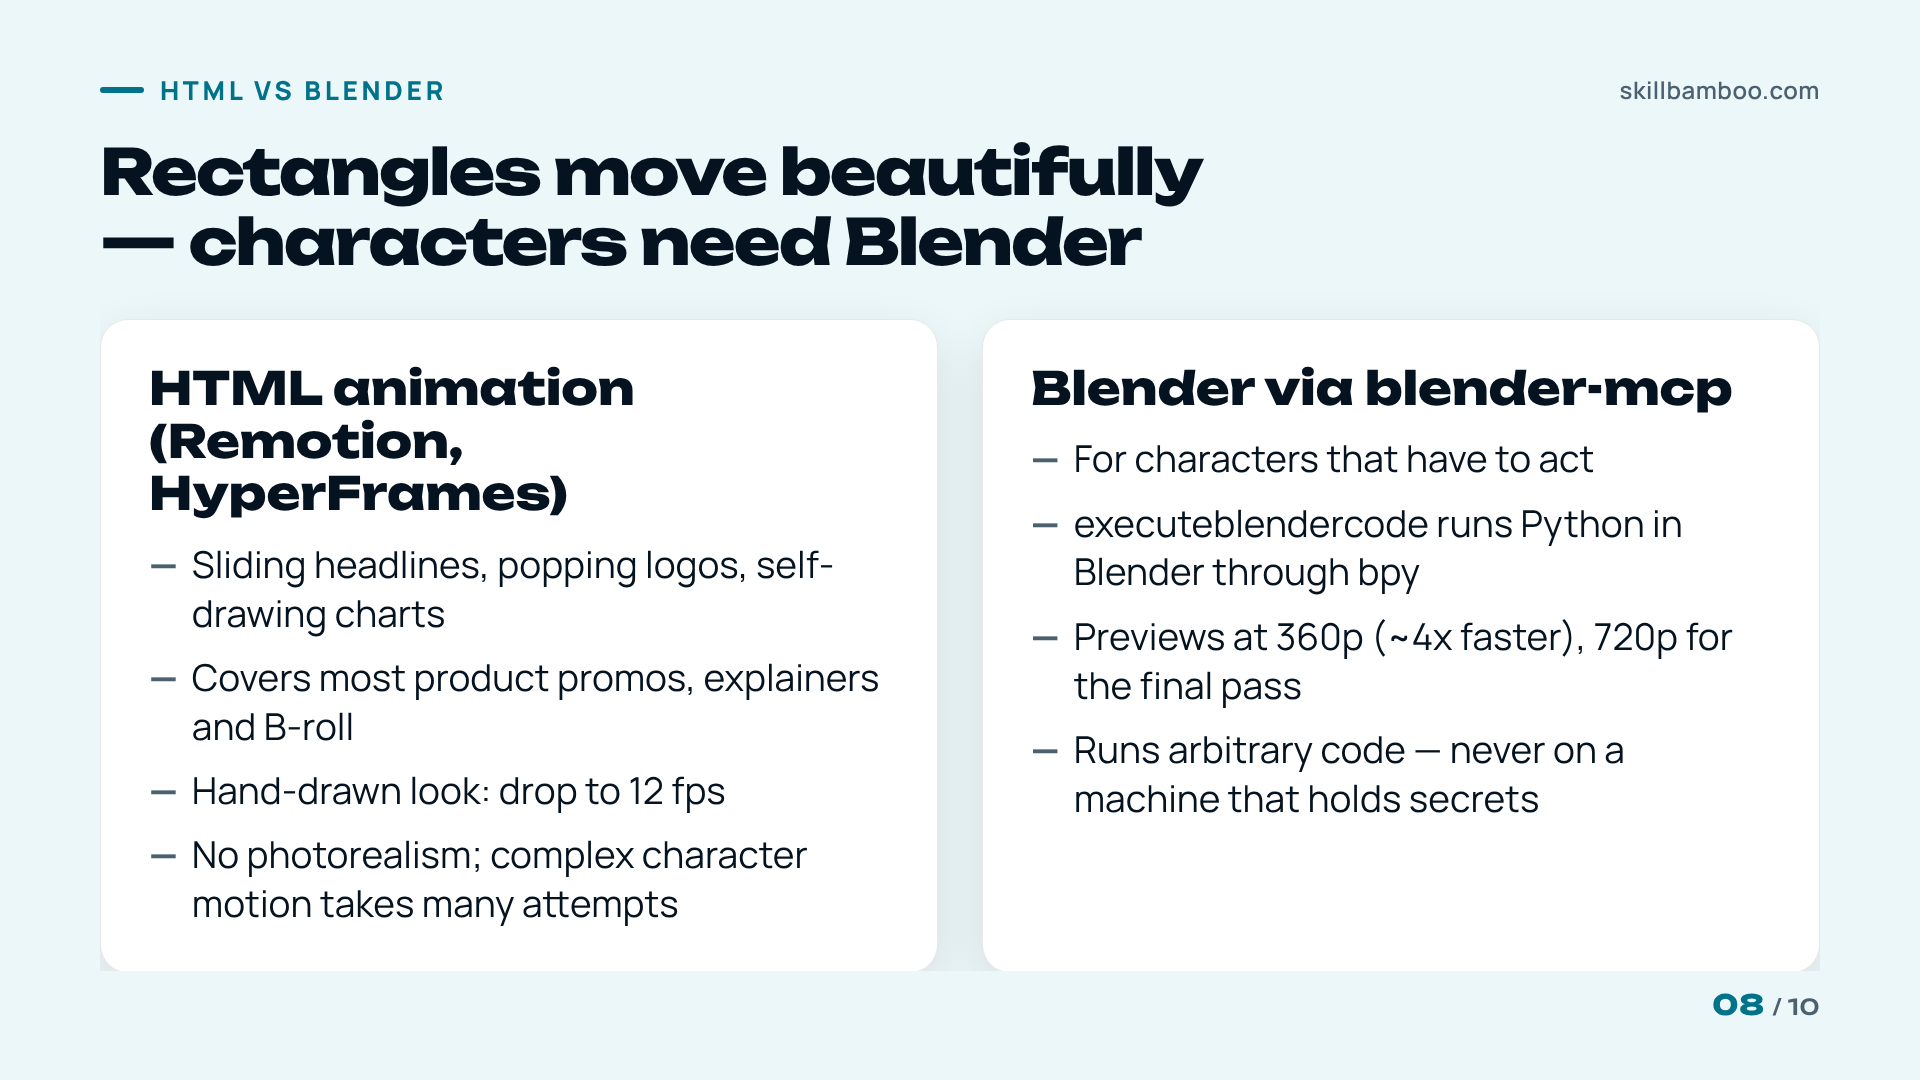
HTML-based video tools are excellent at a particular kind of motion: sliding headlines, popping logos and charts that draw themselves. That covers most product promos, explainers and B-roll.
The ceiling shows up as soon as a character has to do something. Rectangles move beautifully, but a person acting is beyond what HTML animation can deliver. Code-based animation also can't produce photorealism, and complex character movement takes many attempts. For characters, the tool is Blender – and Claude can drive it.
The bridge is blender-mcp. It connects Blender to Claude Code, and its key tool, execute_blender_code, runs arbitrary Python inside Blender through bpy, Blender's own Python API. The agent works in a loop much like coding: it edits the scene, grabs a viewport screenshot, checks the result and picks the next fix.
| HTML animation (Remotion, HyperFrames) | Blender via blender-mcp | |
|---|---|---|
| Best for | Sliding headlines, popping logos, self-drawing charts | Characters that need to act |
| Known limits | No photorealism; complex character motion takes many attempts | Runs arbitrary Python by design |
| How the agent edits | Precise edits to any part of the code | Edit, screenshot the viewport, check, fix |
Treat the Blender bridge like a shell
Because blender-mcp executes arbitrary code, give it the same caution you'd give any local automation with shell access. Don't run it on a machine that holds secrets.
3D renders are slower, so keep the feedback loop fast. Render previews at 360p, which is roughly 4x faster, and save 720p for the final pass. The same habit is worth keeping for heavy Remotion compositions too.
Key terms
- Remotion – A framework for making videos in code, which lets an AI model build and render animations programmatically.
- HyperFrames – A framework that lets you write a video as HTML and render it out, similar in purpose to Remotion.
- Remotion Studio – A browser-based preview app that lists your Remotion compositions and plays them back.
- MCP (Model Context Protocol) – A standard bridge that lets an AI model call outside tools and software such as voice, music or 3D apps.
- bpy – Blender's Python API, through which an agent can perform almost any action in Blender.
- Rigging – Giving a 3D character a skeleton and binding its mesh to the bones so it can be posed and animated.
- Mixamo – Adobe's free service that auto-rigs a character and offers a library of motion-captured animations.
Bottom line: cost and a repeatable workflow
All of this runs on a regular Claude subscription rather than per-token API billing. Some creators find that a twenty-dollar subscription is more than enough for one or two videos like this a week. Compared with paying a professional several hundred dollars for a single product animation, the math works out quickly. Your first few videos will be practice. That's OK, as long as you keep that mistakes file growing.
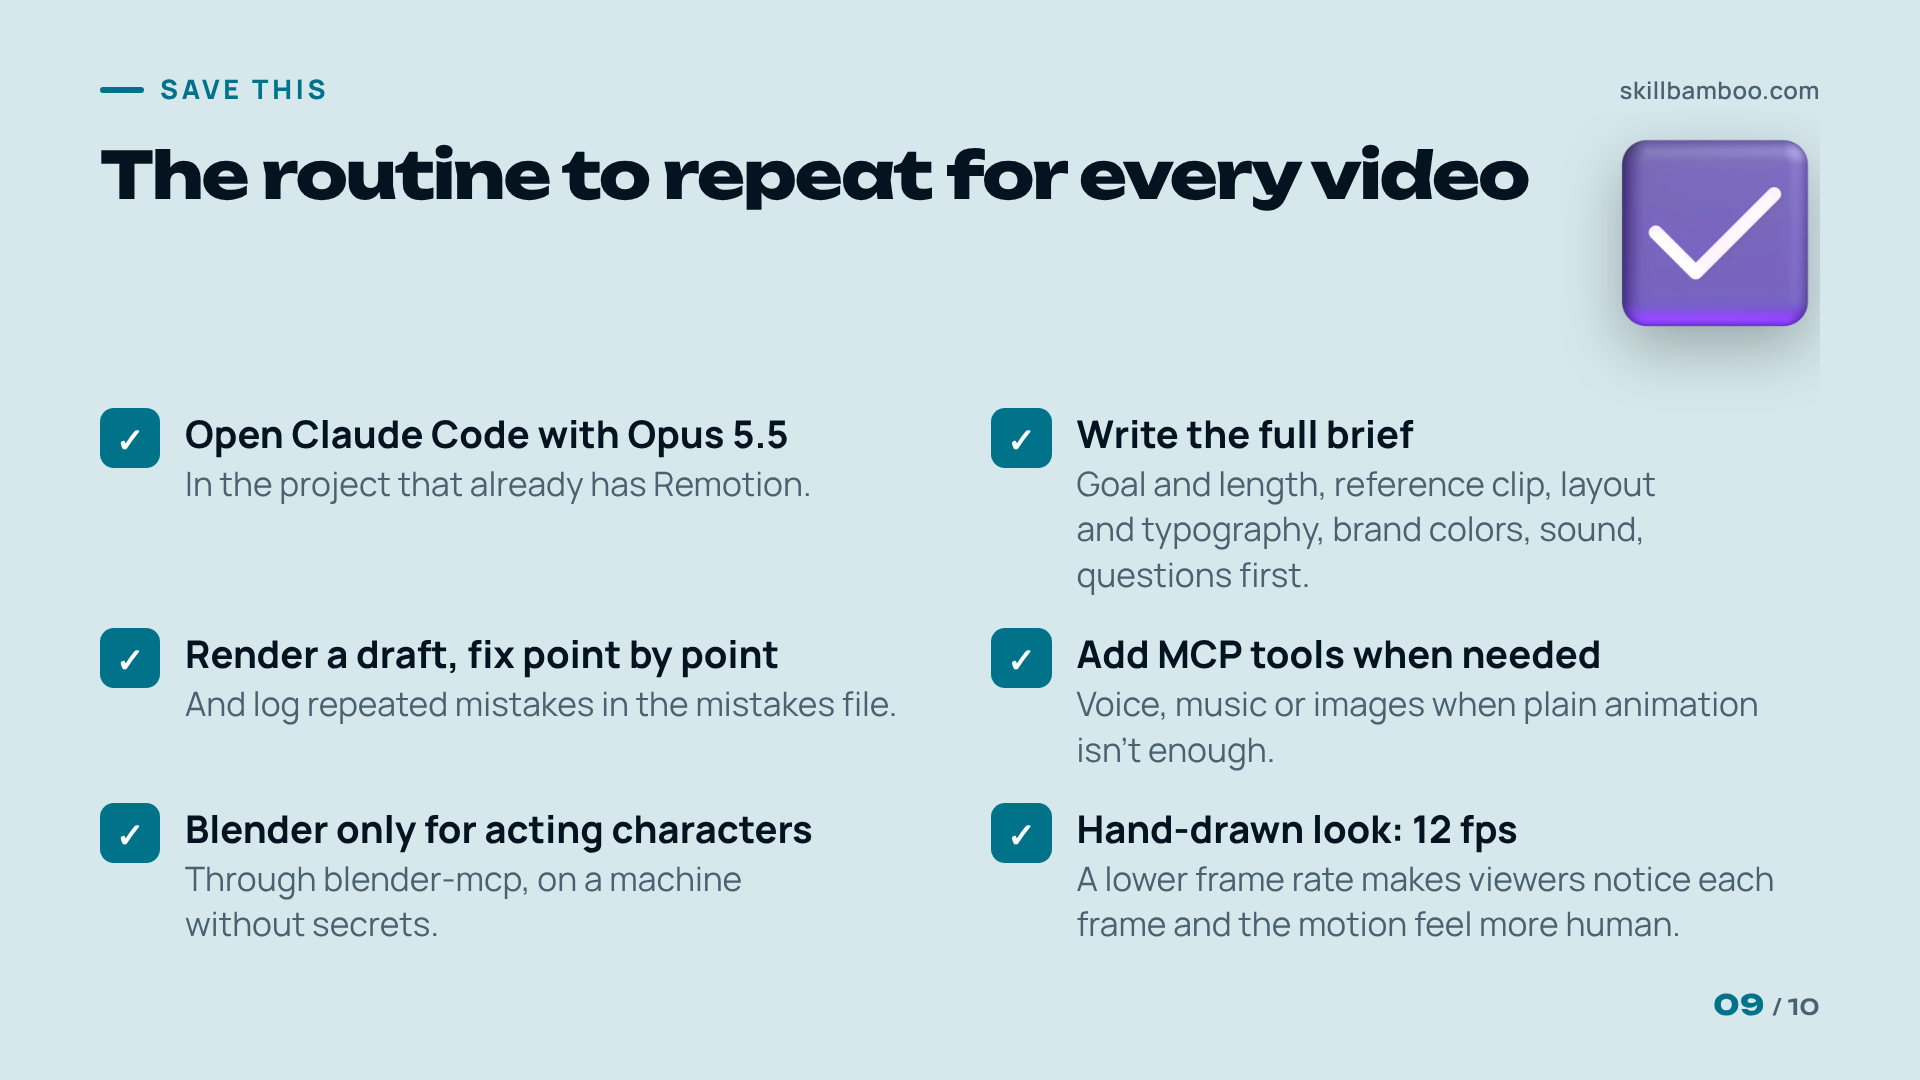
The routine to repeat for every project:
- Open Claude Code with Opus 5.5 in the project that already has Remotion.
- Write the brief: goal and length, reference clip, layout and typography, brand colors, sound, questions first.
- Render a draft, fix it point by point, and log repeated mistakes.
- Bring in MCP tools for voice, music or images when plain animation isn't enough.
- Move to Blender only when a character has to act.
Summary
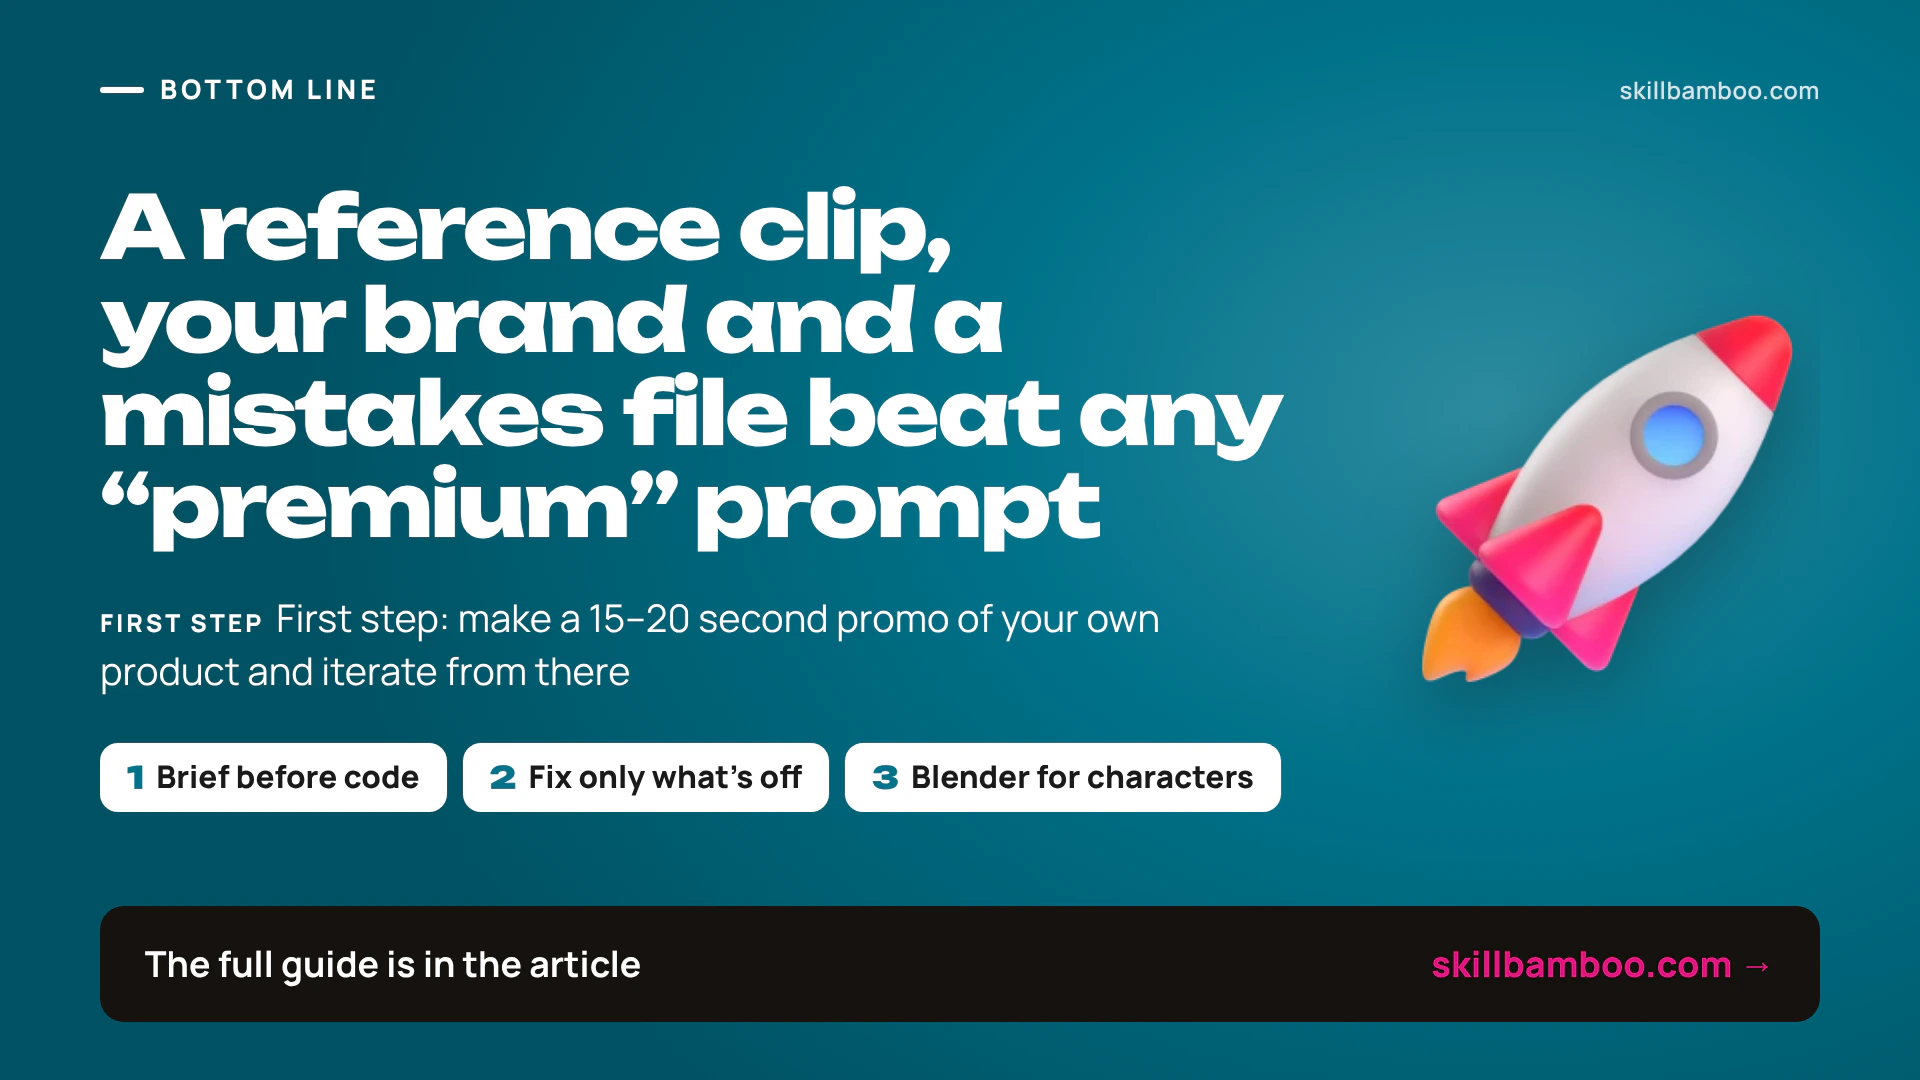
The full pipeline: Remotion installed through Claude Code, a brief built around a reference clip and your brand, sound generated in Python, and a mistakes file that improves each project. HTML animation handles type, logos and charts. Characters go to Blender through blender-mcp, on a machine without secrets. So start with a 15–20 second promo of your own product and iterate from there.
Check yourself
1. Your first Claude-made promo looks generic and bland. Which change is most likely to help?
- A. Re-run the same prompt several times and pick the best
- B. Attach a reference video and spell out layout, typography and brand colors in the brief
- C. Ask for “the most stunning premium video you can make”
Show answer
Answer: B. A reference and concrete instructions remove guesswork; generic prompts produce generic output.
2. Your Remotion render has no sound. What's the fix?
- A. Explicitly ask in the prompt for sound effects and background music generated with Python
- B. Switch to a higher frame rate
- C. Audio is impossible in code-based video, so add it later in an editor only
Show answer
Answer: A. Remotion with Claude Code may not add audio automatically; the model can synthesize it with Python libraries when asked.
3. You need a mascot character that jumps and waves. What's the realistic route?
- A. Ask for photorealistic rendering in Remotion
- B. Use Blender driven by Claude through an MCP bridge, with a rigged character
- C. Keep it in Remotion – any motion can be expressed in HTML
Show answer
Answer: B. HTML animation handles text and shapes well but hits a wall with character actions; Blender handles rigging and motion.
4. The agent keeps repeating the same visual mistake across projects. What practice addresses this?
- A. Lower the frame rate
- B. Start each project in a fresh folder so old mistakes can't leak in
- C. Have it log each mistake in a dedicated file or folder it reads in future work
Show answer
Answer: C. A persistent error list lets the agent avoid known pitfalls in later projects.
5. You plan to connect Claude to Blender on your work laptop. What precaution matters most?
- A. None – it only moves 3D objects
- B. Treat the bridge like shell automation and keep it off machines holding secrets
- C. Render previews at 720p to verify safety
Show answer
Answer: B. The Blender tool executes arbitrary code by design.