 SkillBamboo

Not long ago I needed an AI product video ad, and all I had were a couple of clean studio photos and no budget for a shoot. My first thought was that a generator would simply handle the whole thing, and my second, a little later, was that it kept quietly changing the product from one shot to the next.
So I slowed down and worked through it piece by piece, from stills to clips to the timeline, checking every frame against the real photos. This guide walks you through the same path, so you can take the product shots you already have, build lifestyle scenes from them, animate those into short clips and finish a ready-to-post ad with an edit, music, sound effects and captions.
What you need before you start: photos, anchors and a concept
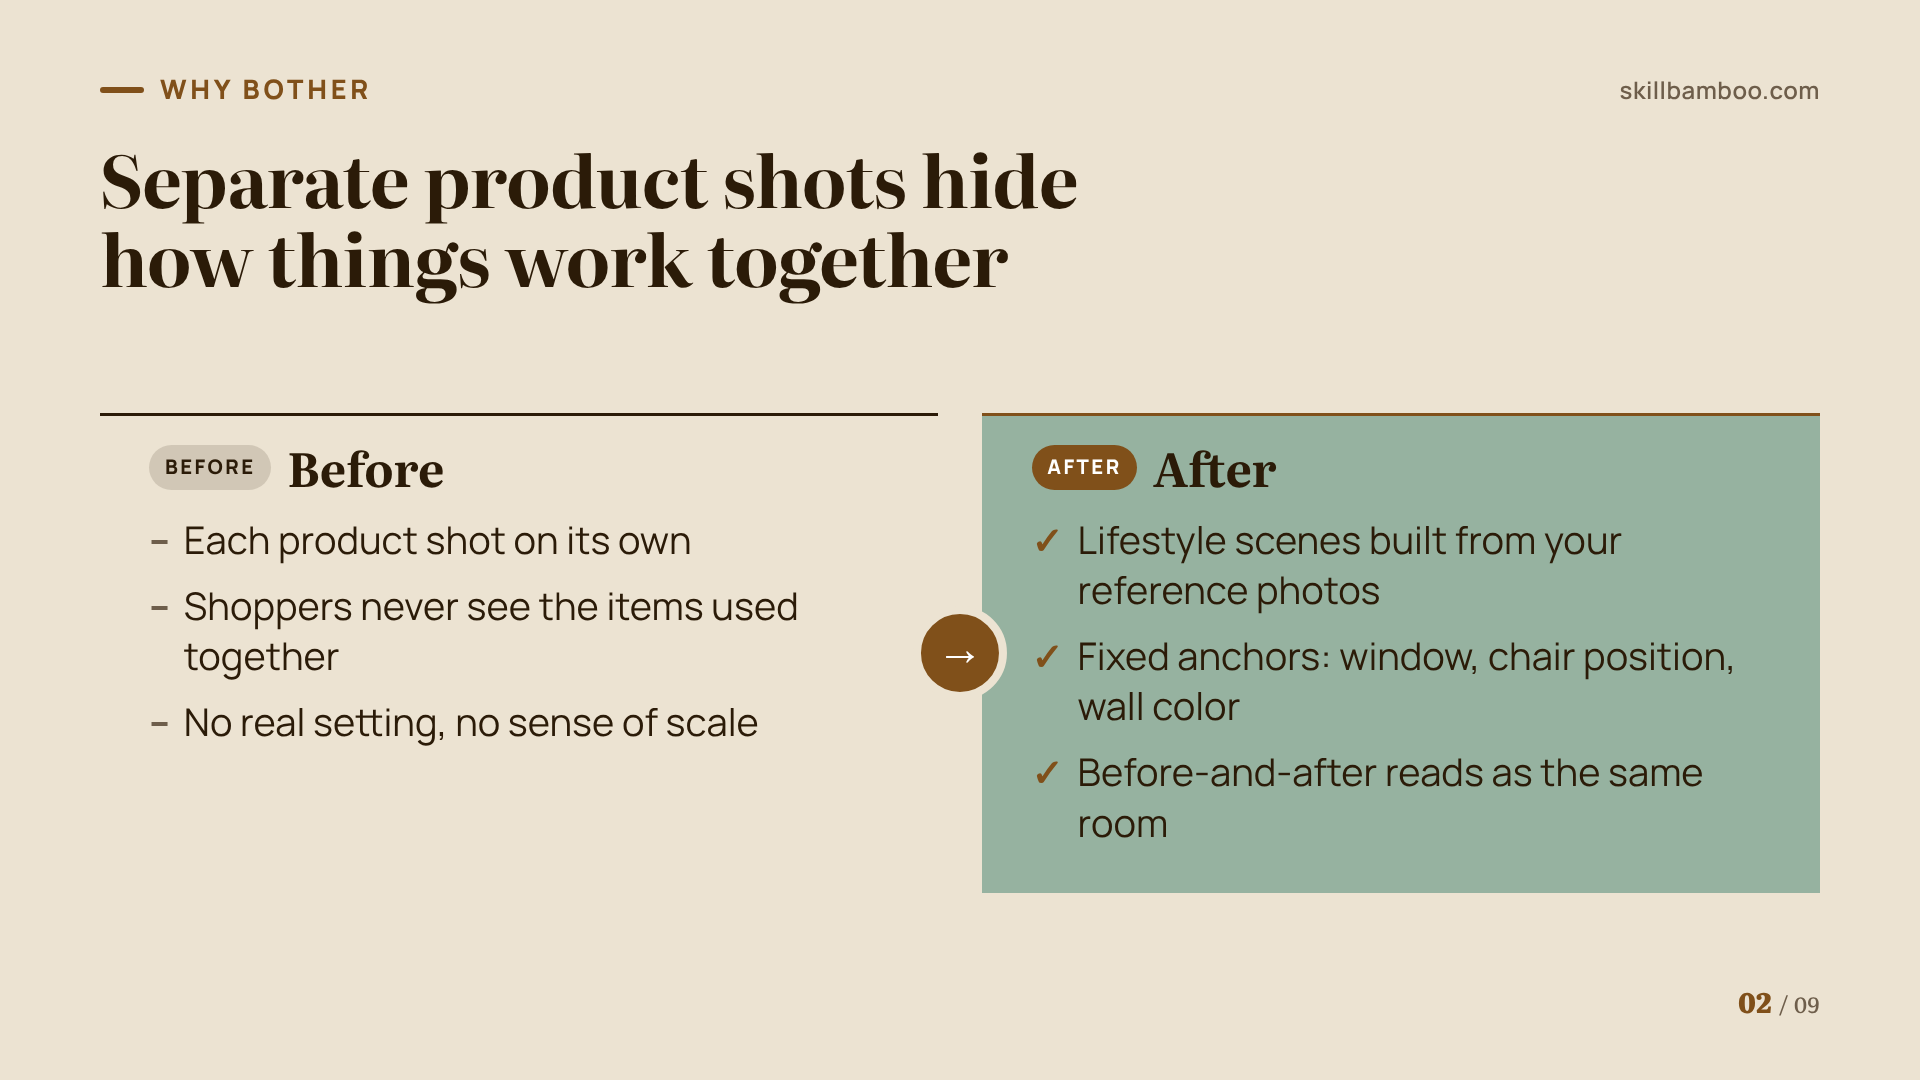
The usual small-business gap is easy to describe. Each product was shot on its own, so shoppers never see the items used together in a real setting. Generated lifestyle shots can fill that gap, but only if they stay faithful to the real products.
Here's what to prepare:
- Reference photos of each product. Every generated frame will be compared against them.
- A real photo of the space, if your concept is set in a room. Pick fixed anchors in it, such as the window, where the chair stands and the wall color. These stay identical in every shot, and they're what makes a before-and-after look like the same room.
- A concept. Two work well for everyday products. A lifestyle setup shows the product improving a real space. An absurd reveal treats an ordinary object with over-the-top gravity, then lets the product explain the strange scene.
Pick one concept per ad. The steps are the same for both, except around the reveal.
Step 1: Generate AI lifestyle product shots that keep your product exact
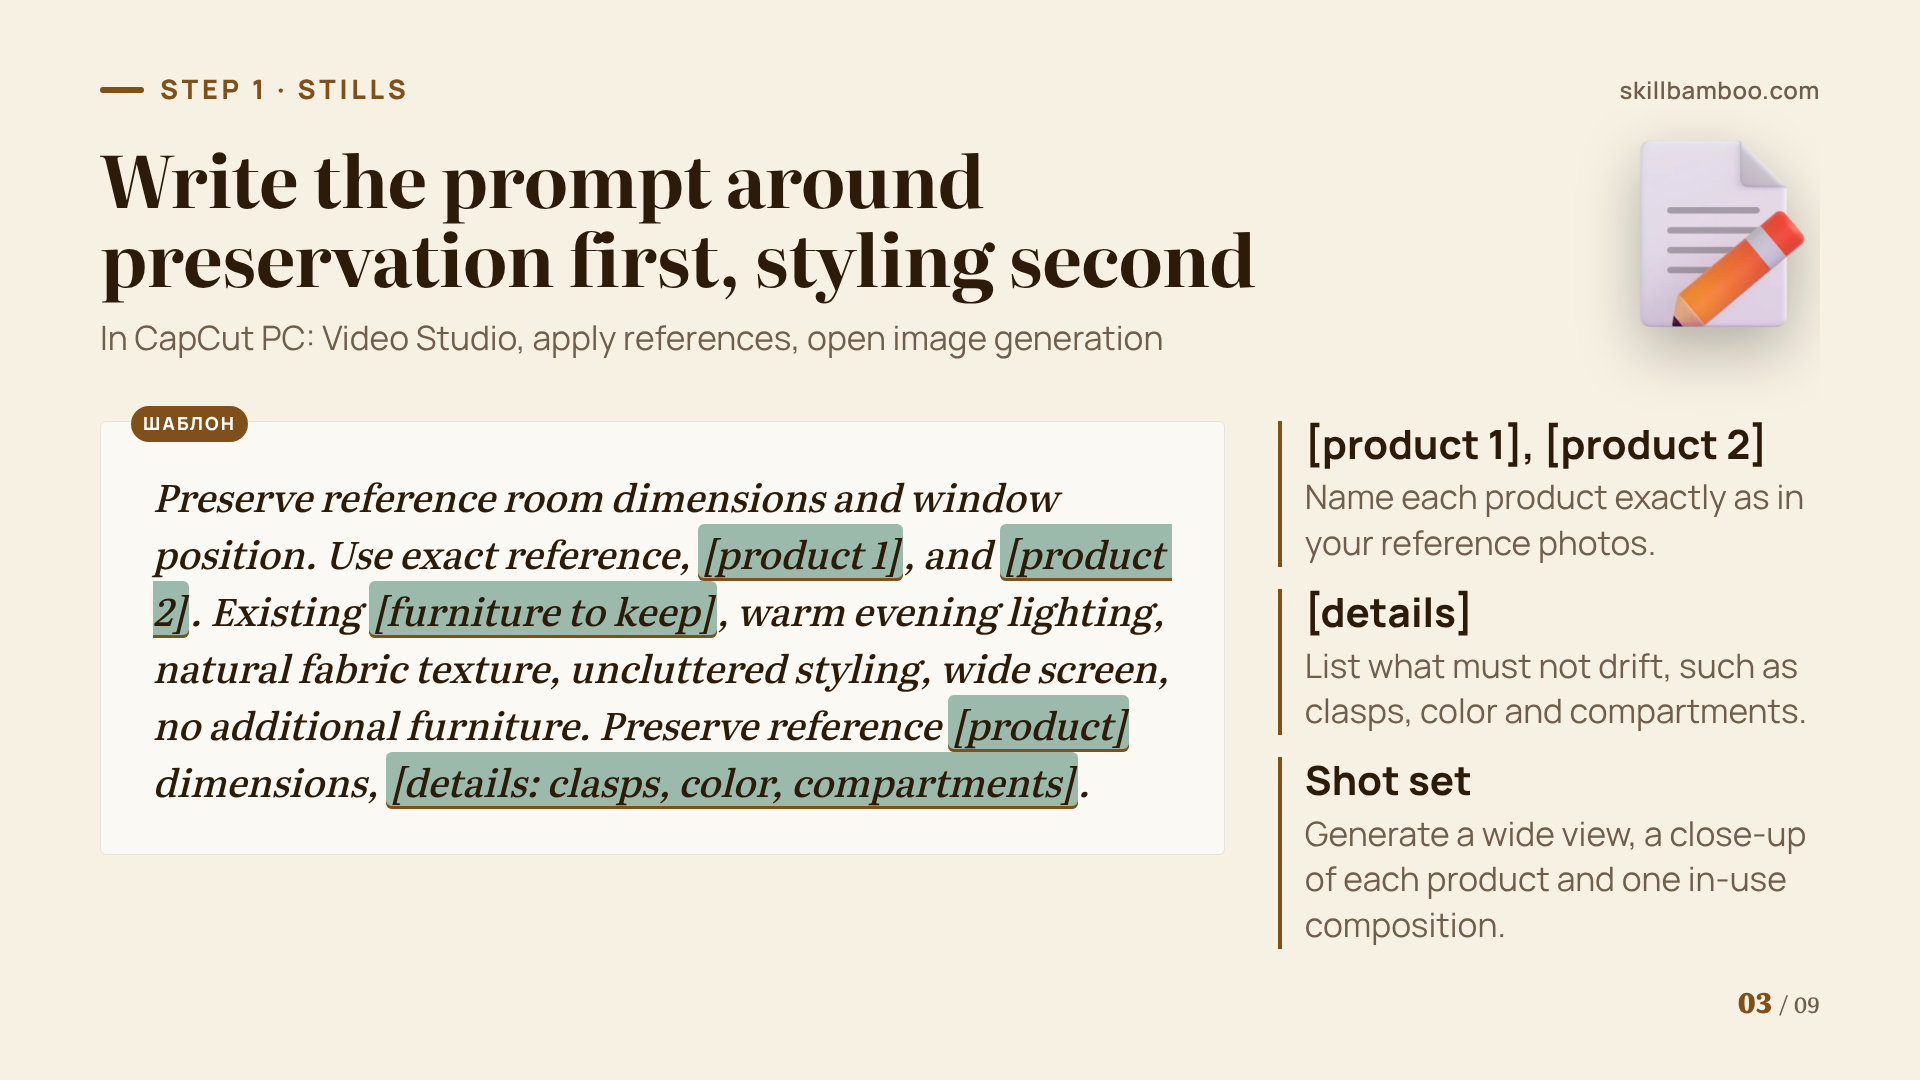
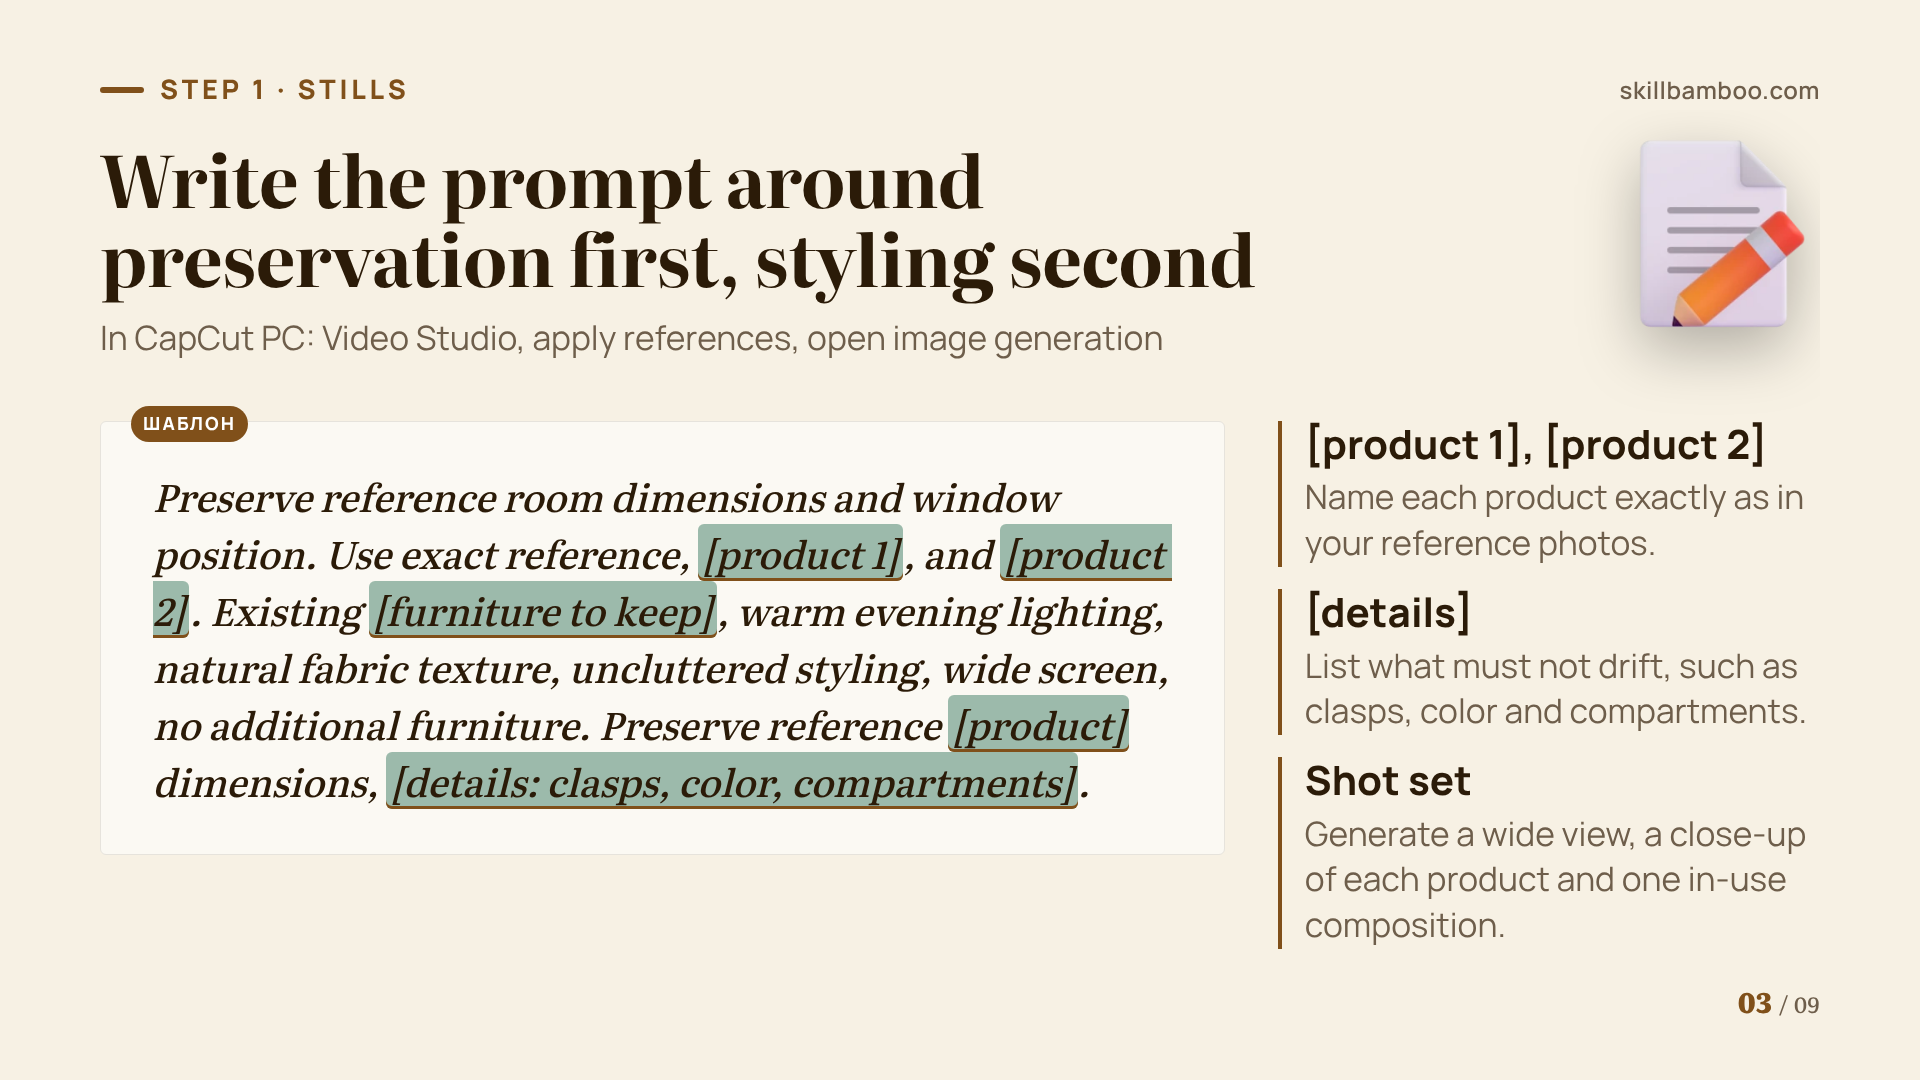
In CapCut PC, open Video Studio, apply your reference photos and open image generation. Write the image prompt around preservation first and styling second. Here's a prompt that placed a wall storage table and a cream floor lamp into a real room:
Preserve reference room dimensions and window position. Use exact reference, wall storage table, and cream floor lamp. Existing chair, warm evening lighting, natural fabric texture, uncluttered styling, wide screen, no additional furniture.
Spell out the product details that must not drift. For a lunchbox ad, that line looked like this:
Preserve reference lunchbox dimensions, clasps, color, and compartments.
If you're doing a reveal concept, add an instruction to keep the product out of sight until the payoff moment.
Generate a small set of stills rather than a single hero image. A good set is a wide view of the room, a close-up of each product and one composition showing the product in use (for example, someone sitting and reading under the lamp).
Then put each still next to your reference photos. Throw out any frame where the handles look different, extra shelves appeared or the proportions grew.
A pretty scene can't save the wrong product
You're selling one specific item. If its design shifts from shot to shot, attractive styling doesn't make up for it.
Step 2: Turn product photos into video clips, one action each
Turn each approved still into a short clip with an image to video generator, and give every clip its own motion instruction. Here's how that looked for the room ad:
Generate clips from the selected images. Generate separate instructions. Loop camera lamp switches on with warm steady light. Hand places magazines inside the reference table drawer and closes it.
In other words, one action per clip. The lamp switching on is one clip. A hand putting magazines into the drawer and closing it is another. Small, simple movements are much easier to keep under control than a busy scene with several things happening at once.
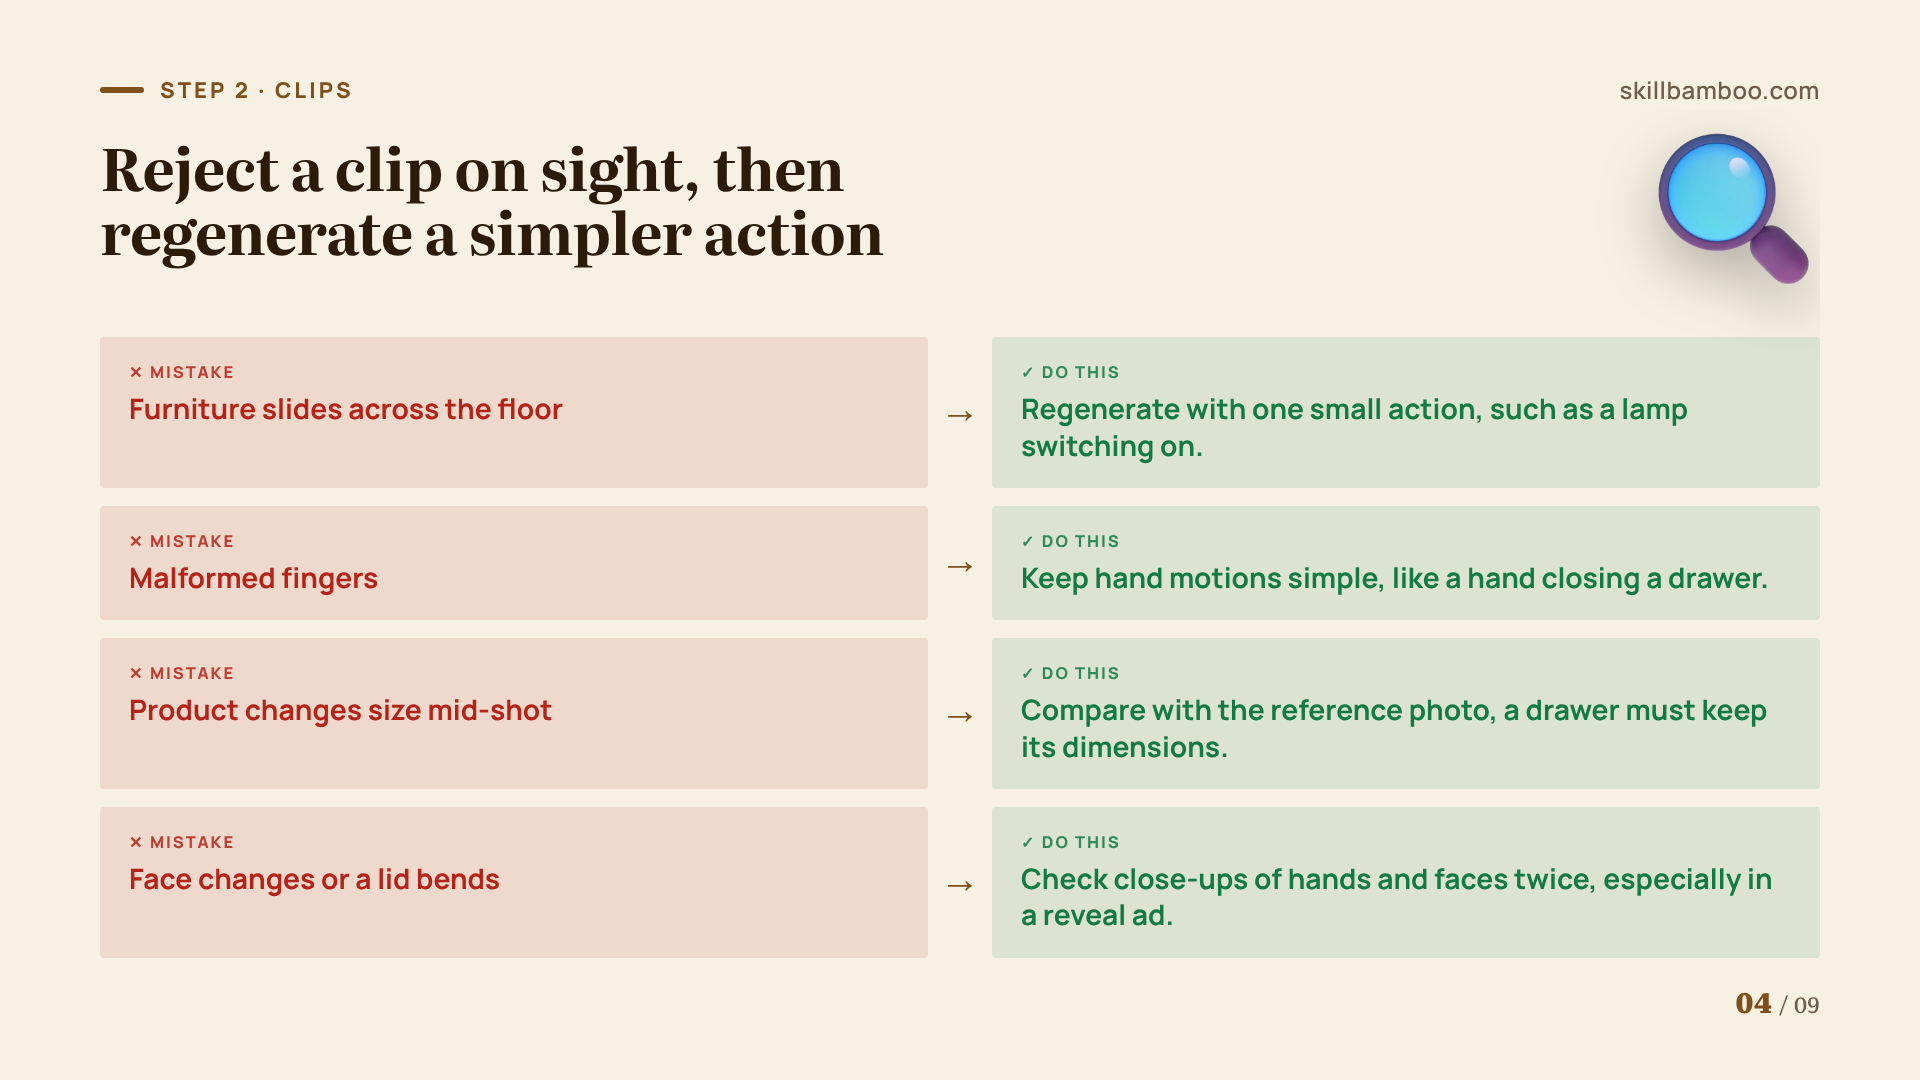
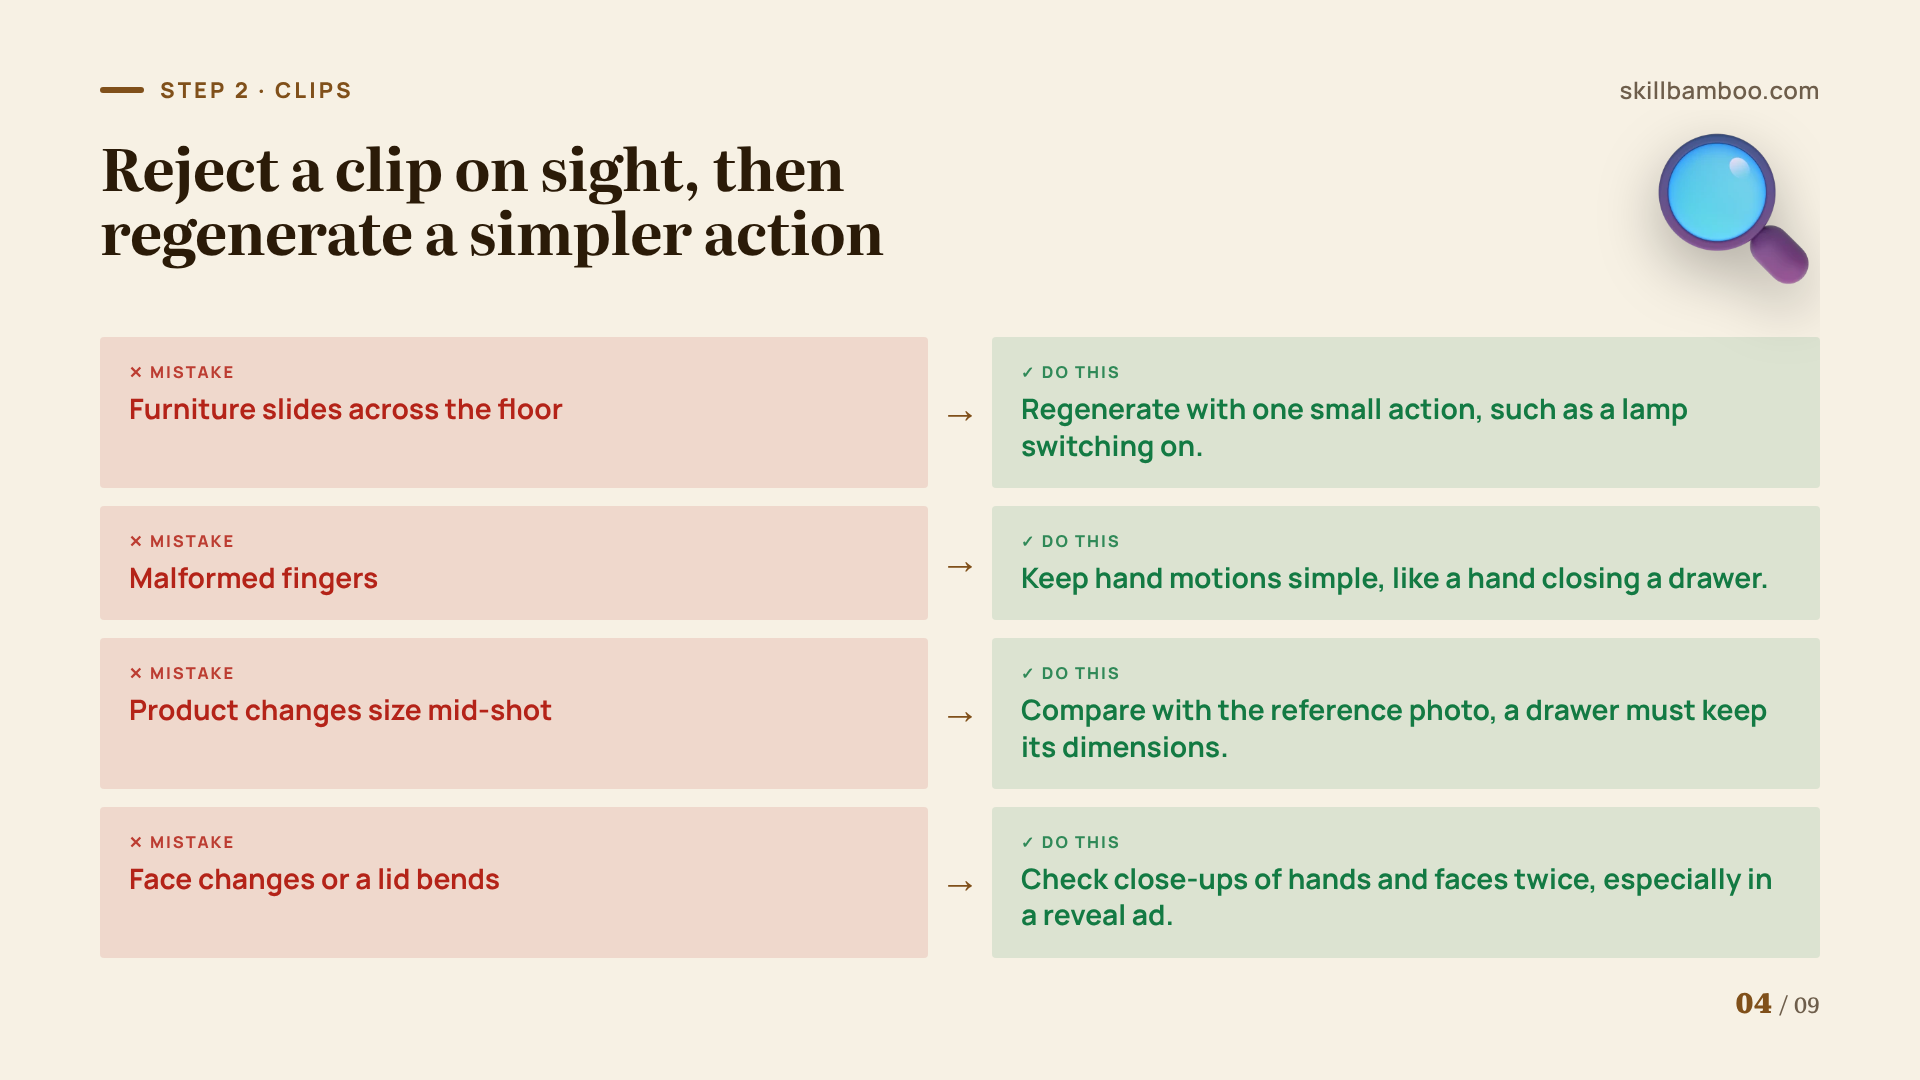
Preview every clip before keeping it, and reject it if you see any of these:
- furniture that slides across the floor
- malformed fingers
- a product that changes size, such as a drawer whose dimensions shift mid-shot
- a face that changes, food that floats, or a lid that bends in a way the real object can't
The same checks apply to both concepts. But the reveal ad has more close-ups of hands and faces, so it's worth looking at those frames twice.
Step 3: Edit the product video ad on a timeline
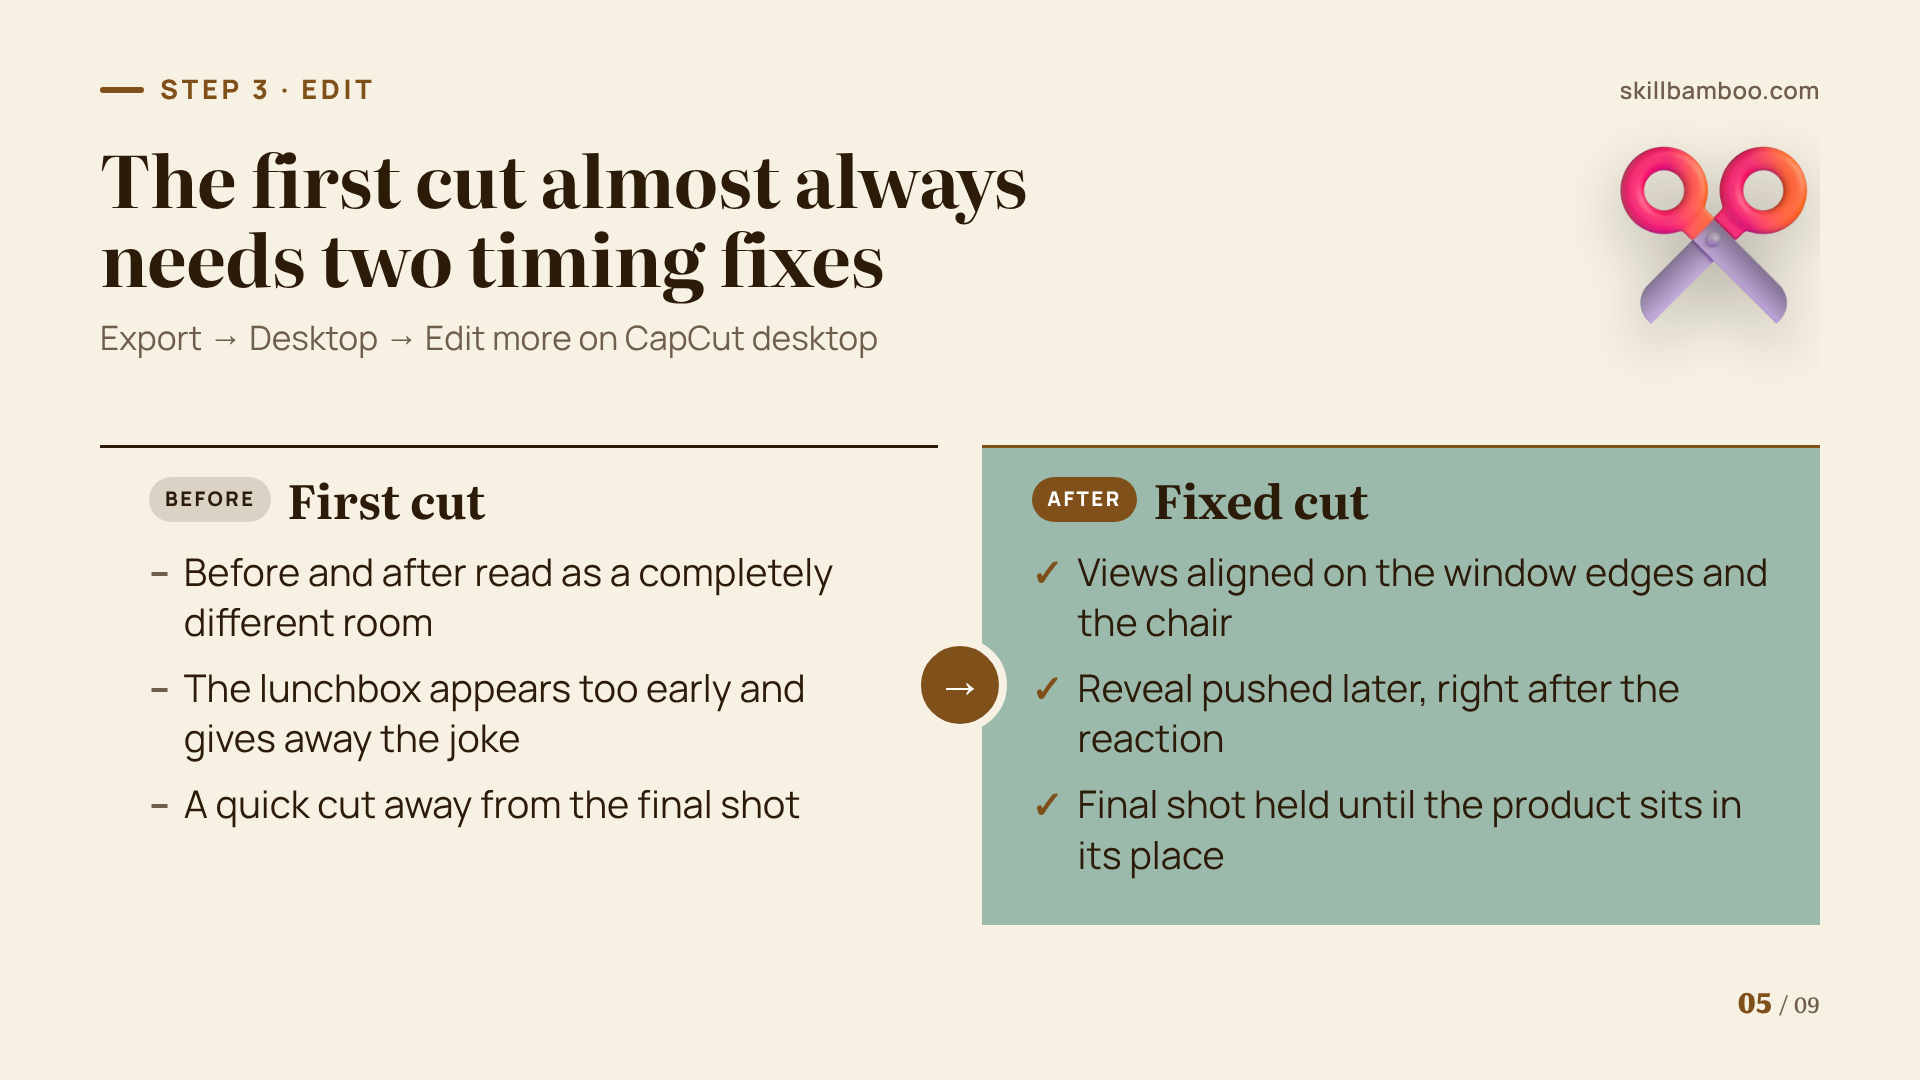
With clean clips ready, move them into a multi-track editor for the final cut. If you generated them in CapCut, export to the desktop app with Export→Desktop→Edit more on CapCut desktop.
For a lifestyle ad, line up the before and after views on a shared reference, such as the edges of the window, and then watch the rough cut. In one room ad, the first transition read as a completely different room. Matching the window and the chair made the improvement obvious.
For a reveal ad, timing does most of the work. In one lunchbox ad, the first cut showed the product too soon. That gave away the joke. So the reveal was pushed later, where the payoff could explain the odd scene and the last frame could make it clear what the viewer can actually buy.
In both cases, let the final shot run long enough for viewers to see the product sitting in its place. A quick cut away at the end wastes the moment the whole ad builds toward.
Step 4: Music, sound effects and dialogue
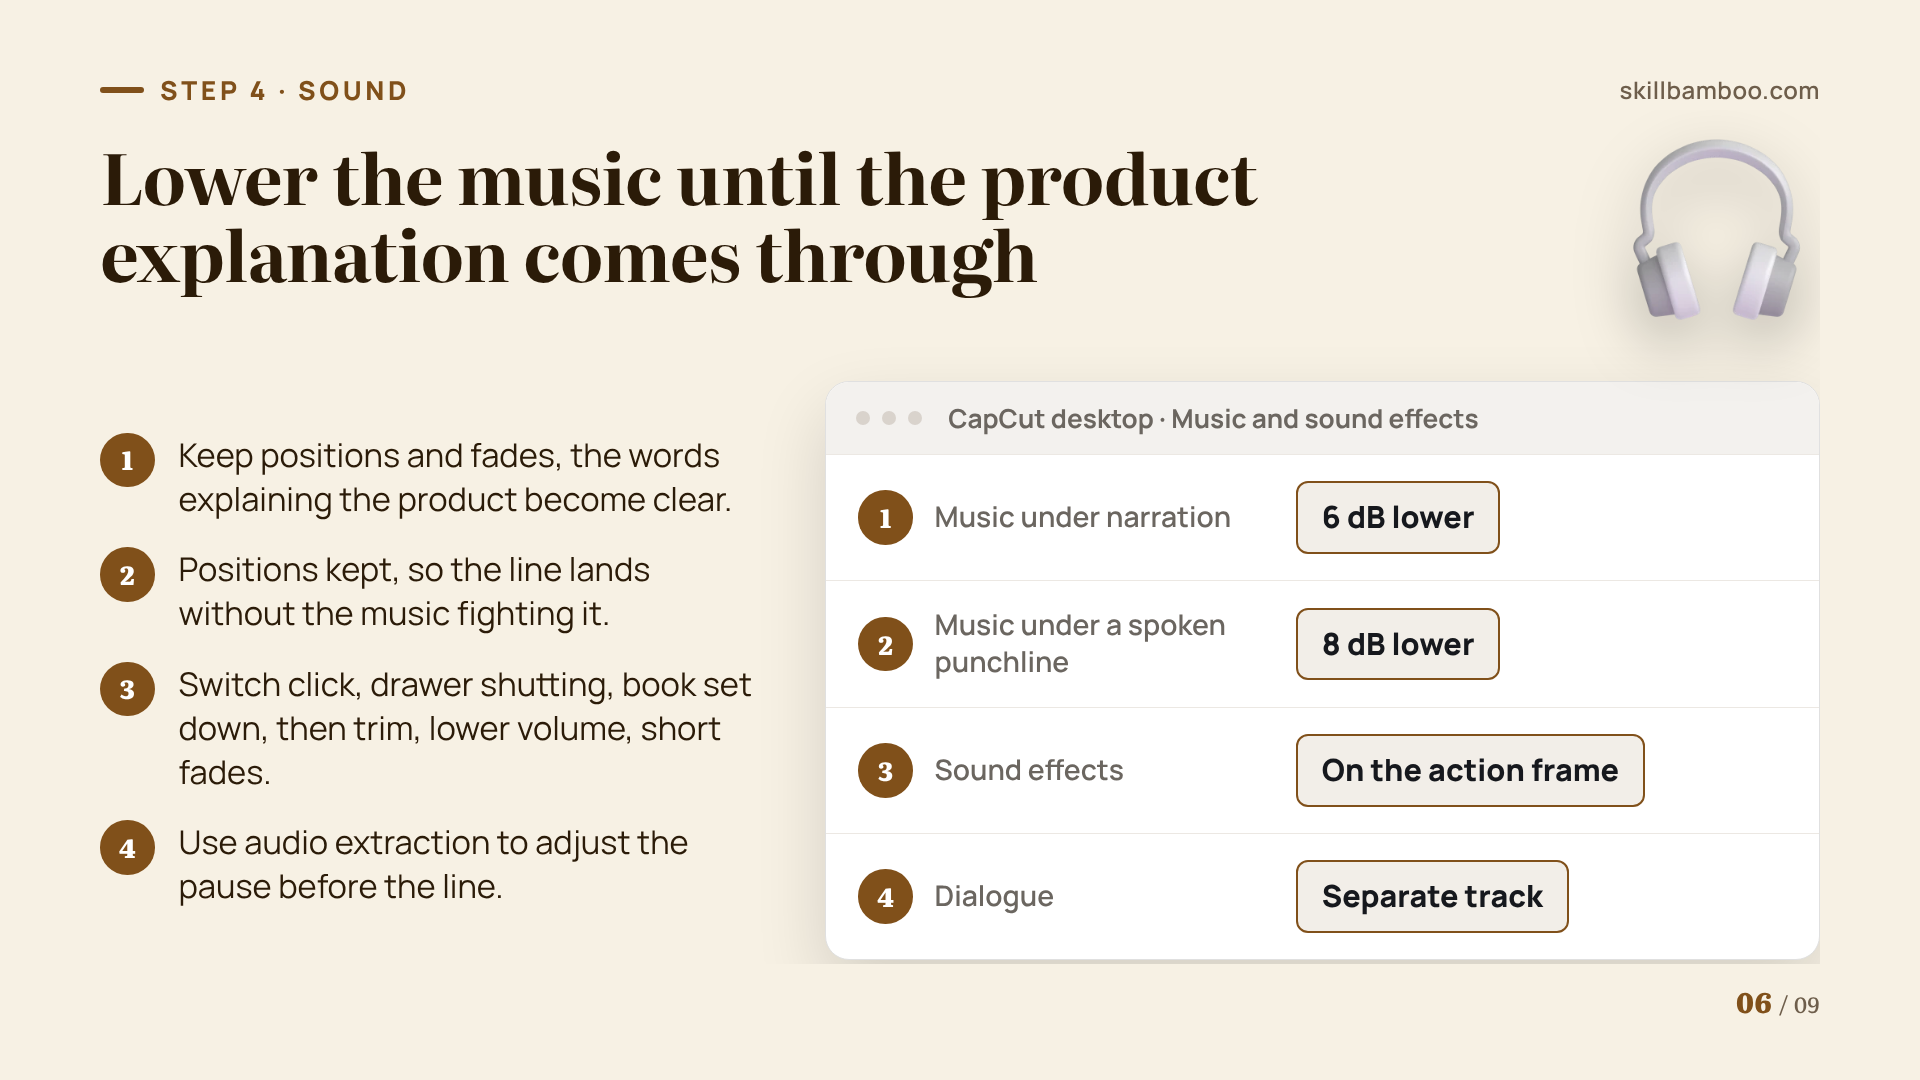
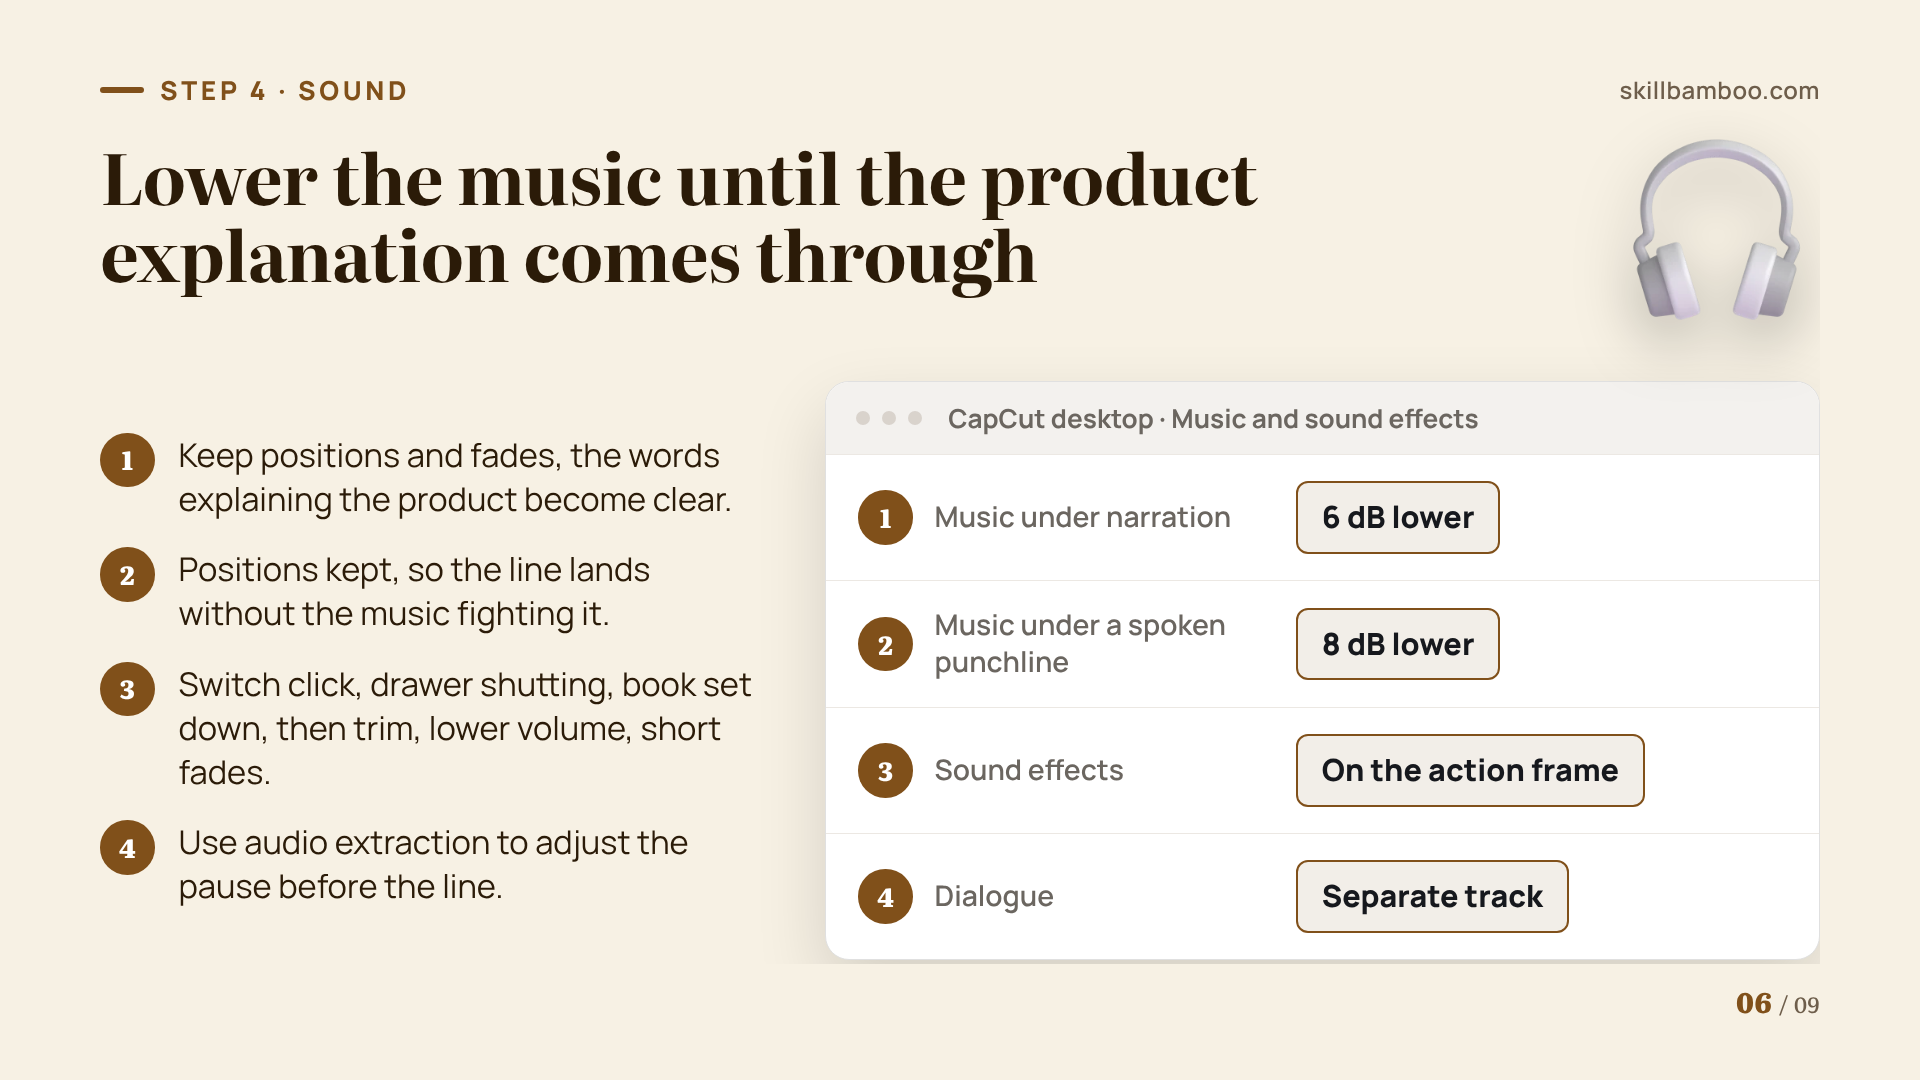
Sound effects and music are where a generated ad starts to feel finished. Start with music levels, because they decide whether anyone hears what you're saying. In the room ad, the music was covering up the explanation of what the storage table does. The fix was a simple level change.
| Moment in the ad | Music change |
|---|---|
| Narration explaining the product | 6 dB lower, positions and fades kept |
| Spoken punchline | 8 dB lower, positions kept |
Next, add small sound effects matched to the actions on screen. Browse the editor's sound effects library and try a switch click for the lamp, a wooden drawer shutting and a book being set down. Place each effect on the frame where its movement happens, then trim the excess sound, reduce the volume and add short fades.
If your ad has recorded dialogue, import the original take and use audio extraction to put the voice on its own track. That way you can adjust the pause before the line until the reaction reads clearly.
The shortcut: a UGC-style AI video ad from one prompt
If you'd rather not build every step by hand, an AI design agent can do most of it. It plans the shots, generates video with sound built in, edits the clips together and adds subtitles on its own.
The brief can be one sentence. Here's an example:
Create a 15-second UGC-style product review for an Alto Cold Brew coffee brand.
Attach your logo and mention it in the prompt with the @ key, so the agent knows it's the brand mark to keep on the product. The good news is you don't have to write a long, technical prompt. Think of the agent as a prompt writer sitting between you and the video model. It hands your short brief to the model as a much longer, more detailed one.
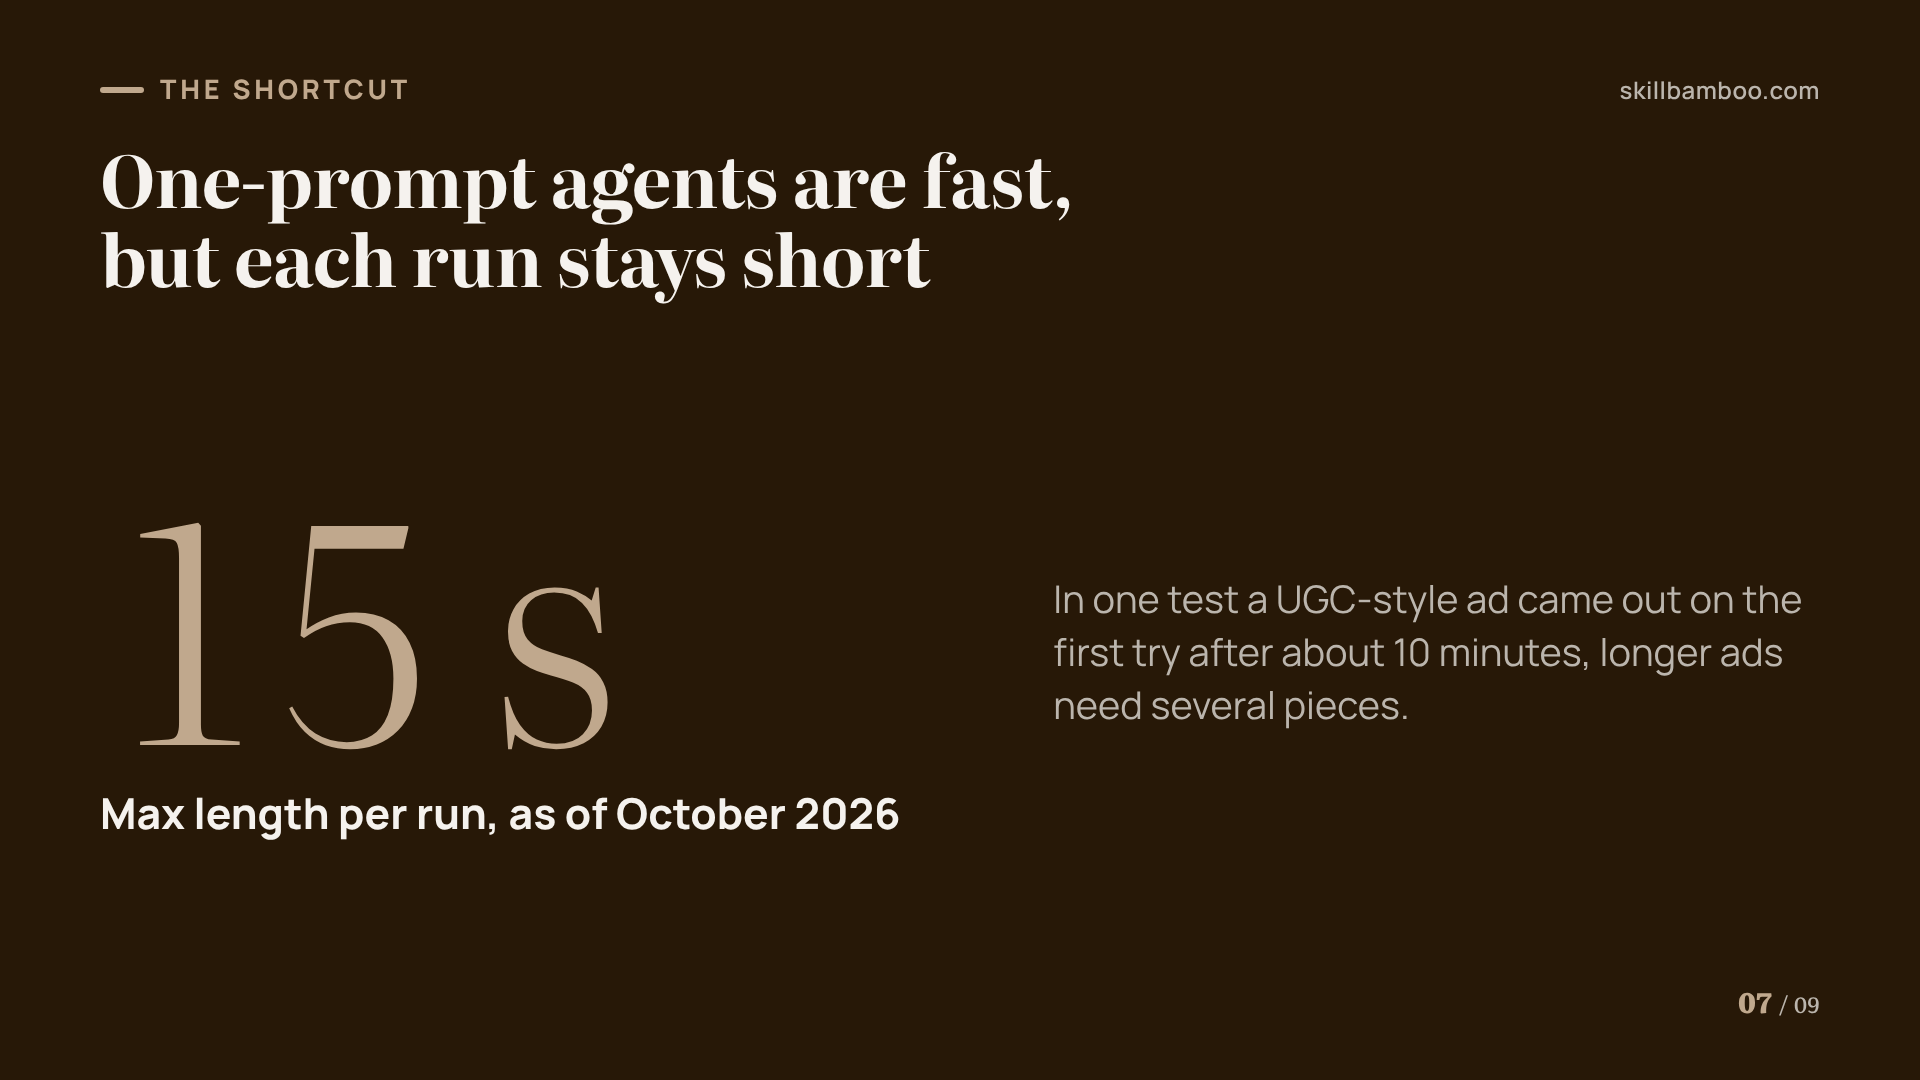
In one test, a UGC-style ad (a clip that looks like a regular customer filmed it) came out right on the first attempt, after about 10 minutes of work. Once you have an ad that works, reference it with @ and ask for five more variations. So instead of betting on one concept, you get to test several.
Keep the length limit in mind. As of October 2026, this workflow generates up to about 15 seconds per run, so longer ads still need to be assembled from several pieces.
Which route to pick
The agent route is the fastest way to test many concepts. The manual route gives you a check at every step, which matters most when the product's exact look is the selling point.
Key terms
- UGC-style ad – An ad that imitates user-generated content, such as a person talking to the camera about a product.
- Lifestyle shot – A scene showing the product in real use and surroundings rather than on a plain background.
- Reference image – A photo you give the AI so it keeps the exact look of a product, room or logo.
- Multi-track timeline – An editing view where video, voice, music and effects sit on separate layers you can adjust independently.
- Audio extraction – Pulling the sound out of a video clip onto its own track so it can be trimmed and timed separately.
- Design agent – An AI tool that plans, generates and assembles assets from a plain-language brief, choosing models and expanding prompts itself.
Pre-export checklist
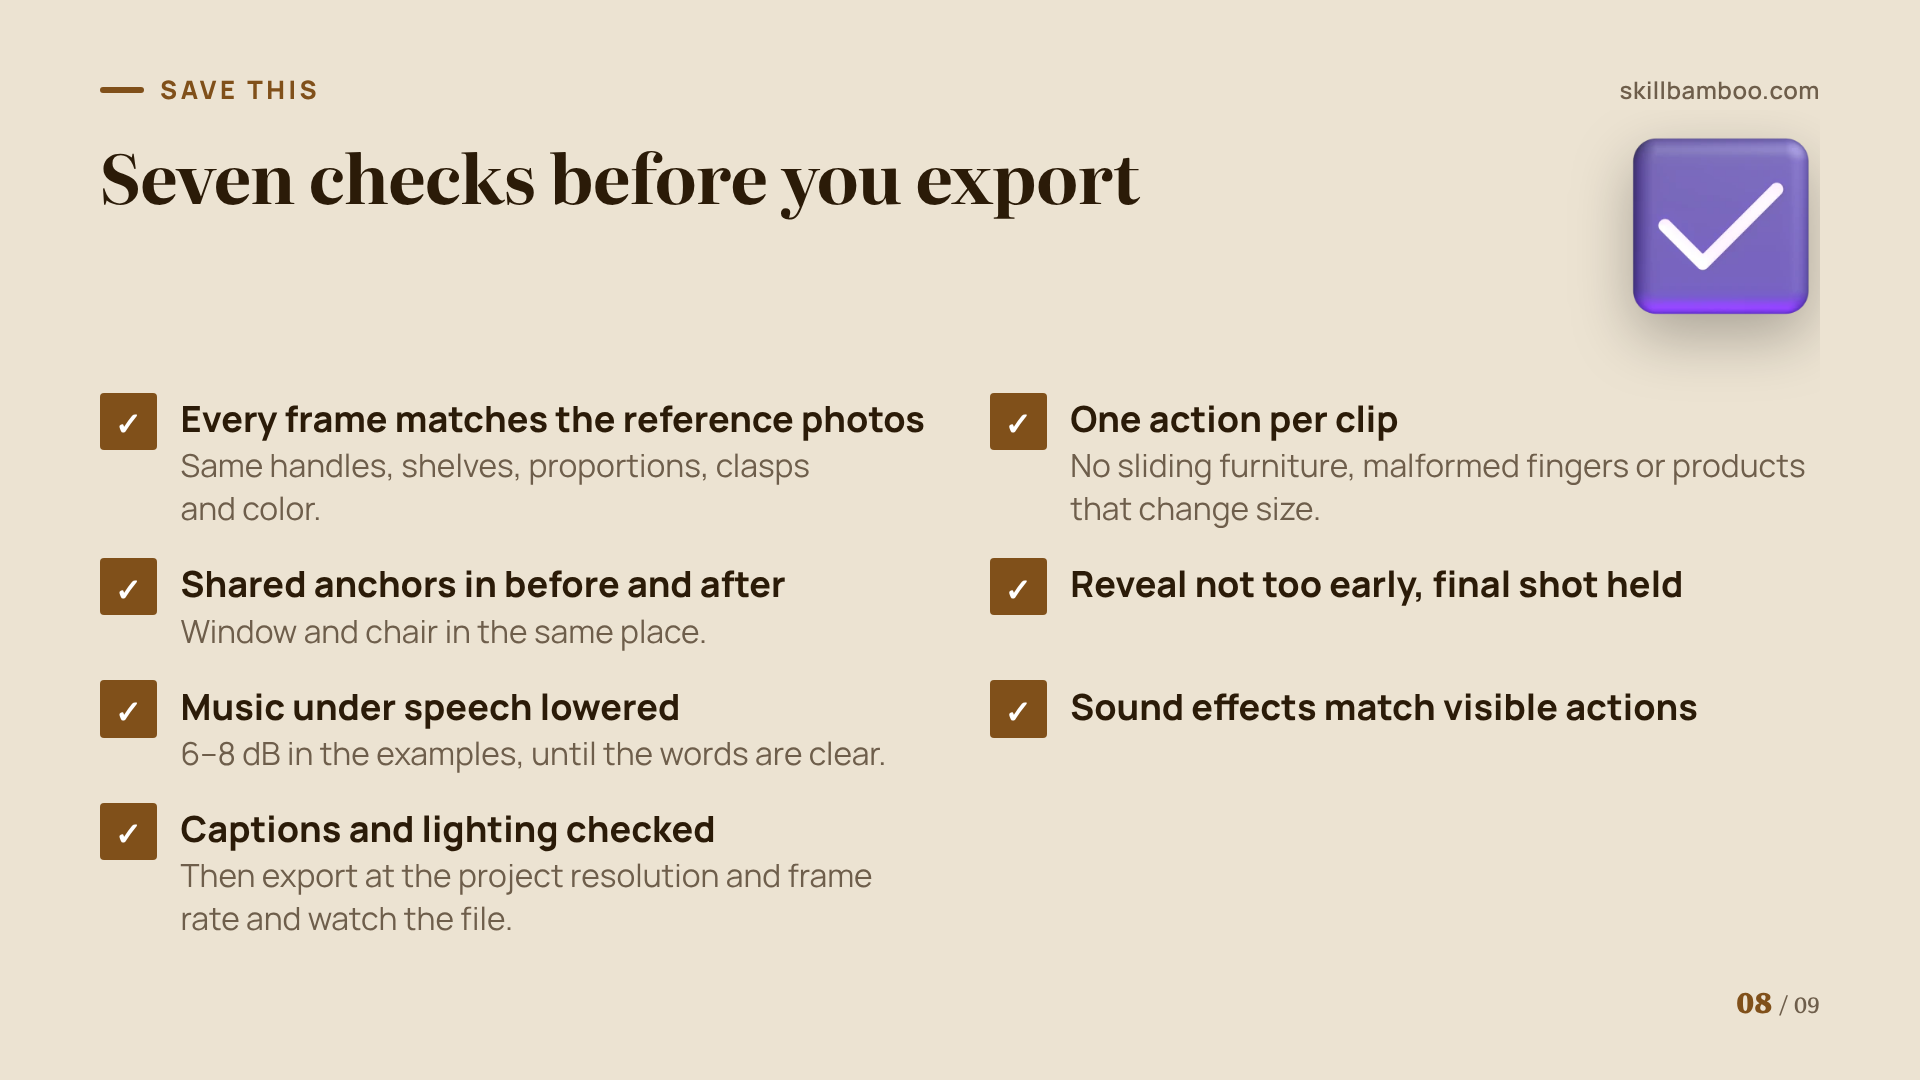
Run this list before you publish, then export at the project resolution and frame rate and watch the exported file in full.
- Every frame matches the reference photos: same handles, shelves, proportions, clasps and color.
- Each clip shows one action, with no sliding furniture, malformed fingers or products that change size.
- Before and after views share the same anchors, such as the window and the chair.
- The reveal doesn't come too early, and the final shot stays on screen long enough to show the product.
- Music under speech is lowered by a few dB (6–8 dB in the examples) until the words are clear.
- Sound effects line up with visible actions.
- Captions are checked and corrected, and the lighting matches across shots.
Summary
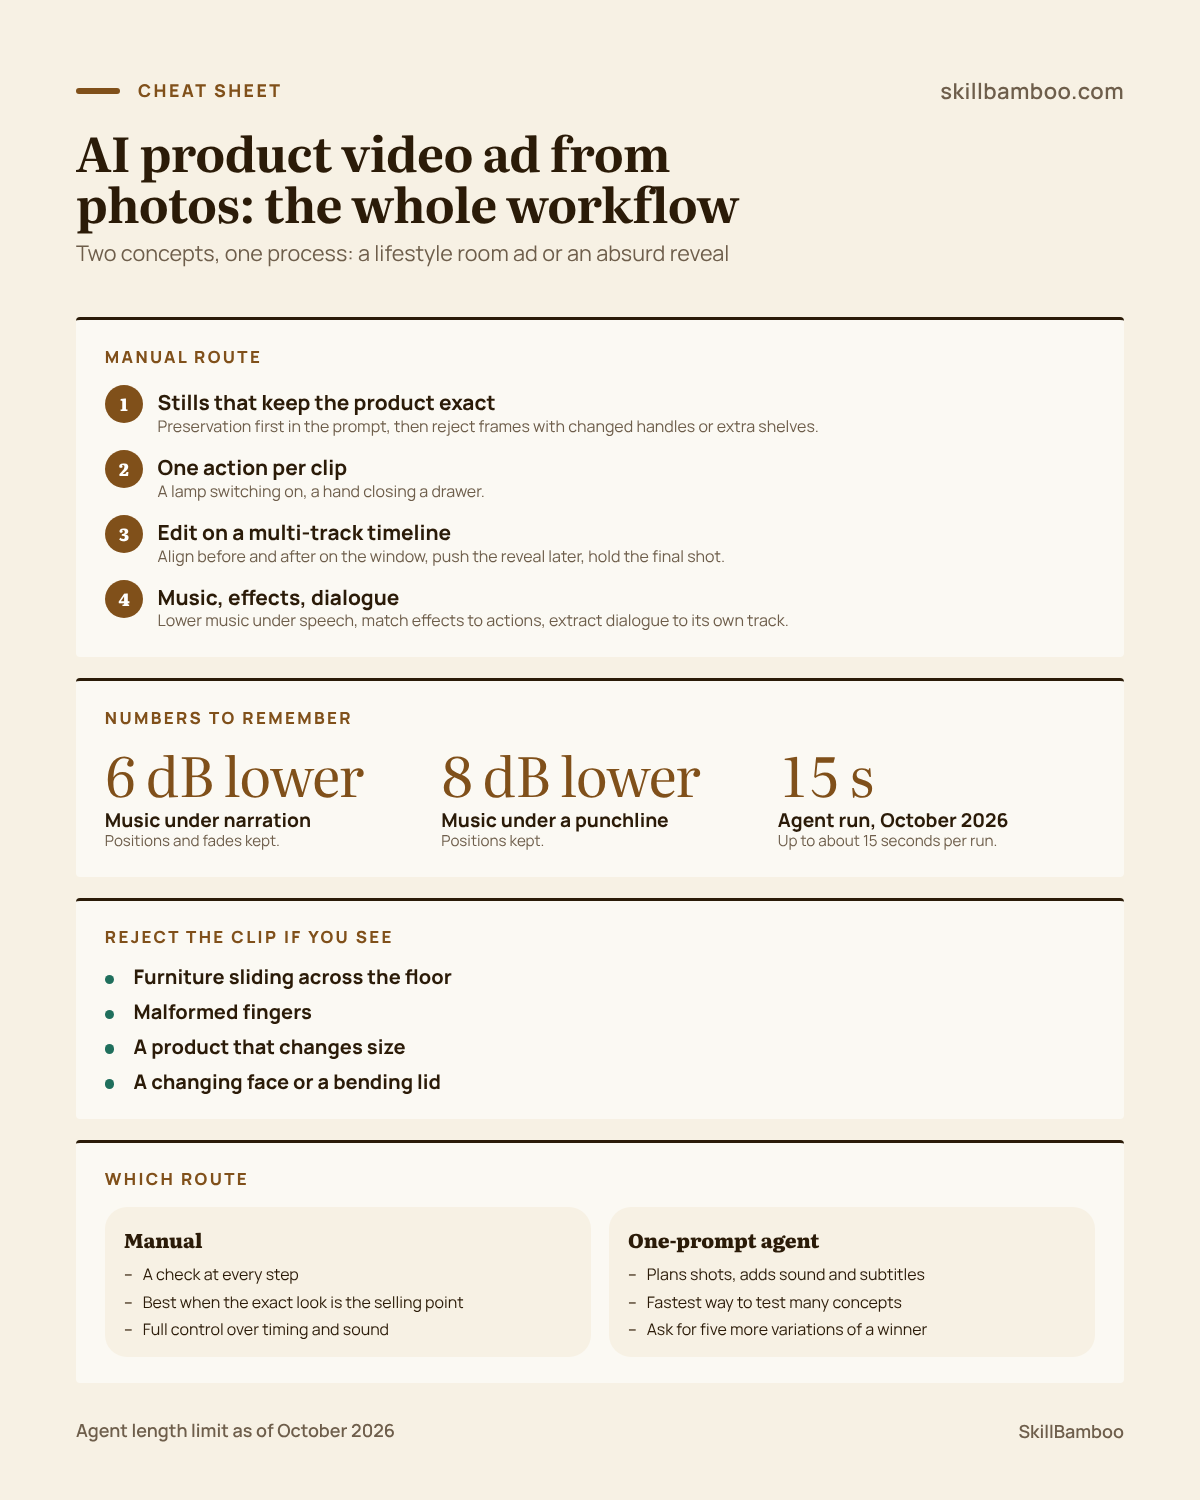
Lock the product's exact look in every still, animate one action per clip, and finish the edit by hand with timing, music levels and sound effects. When you need volume, hand the brief to an agent and test variations. Either way, judge every frame against the reference photos.
Check yourself
1. A generated still looks great, but the table has one extra shelf compared with your real product. What do you do?
- A. Fix it later with music and captions
- B. Reject it and regenerate
- C. Keep it – the styling sells the product
Show answer
Answer: B. You're selling a specific product; a design that changes between shots undermines the ad.
2. Which clip instruction is most likely to give a clean, usable result?
- A. Someone walks in, rearranges the room, sits down and reads
- B. A hand closes the drawer of the reference table
- C. Make the room come alive
Show answer
Answer: B. One small action per clip is easier to control and inspect.
3. Your before/after transition looks like two different rooms. What helps?
- A. Add a louder transition sound
- B. Shorten both shots to a few frames
- C. Align the views on shared anchors like the window and chair
Show answer
Answer: C. Matching anchors make the change read as an improvement of the same space.
4. Viewers can't hear the explanation of the product's benefit. What's the first fix?
- A. Remove the narration
- B. Add more sound effects
- C. Lower the music under that passage by several dB
Show answer
Answer: C. Music was masking the explanation; dropping it by 6–8 dB keeps atmosphere and makes the words clear.
5. You need a 60-second ad, and the one-prompt agent works well. What should you expect?
- A. Agents can't make ads at all
- B. Single generations are capped around 15 seconds, so plan several pieces and an edit
- C. It will generate the full minute in one go
Show answer
Answer: B. The agent workflow currently produces up to about 15 seconds per generation.